
Windows 10 is not just a modern desktop operating system, and it also has some great IT Pro and Developer related features build in. One of them is client Hyper-V. This is the same hypervisor which powers virtualization in Windows Server and the Microsoft Azure datacenters. With Hyper-V, you can create virtual machines running on Windows 10, without the need for third-party software. You can not just run Windows virtual machines, and you can also run Linux virtual machines. In this blog post, I am going to show you how you can create an Ubuntu VM on Windows 10 using Hyper-V.
If you want to know more about Hyper-V on Windows 10, check out the Microsoft Docs.
Install Hyper-V
First, you will need to install Hyper-V on your Windows 10 computer. Hyper-V on Windows 10 has the following requirements:
- Windows 10 Enterprise, Professional, or Education (Home does not have the Hyper-V feature included)
- 64-bit Processor with Second Level Address Translation (SLAT)
- CPU support for VM Monitor Mode Extension (VT-c on Intel CPU’s)
- Minimum of 4 GB memory
The easiest way to enable Hyper-V on Windows 10 is to run the following PowerShell command as an administrator:
Enable-WindowsOptionalFeature -Online -FeatureName:Microsoft-Hyper-V -All
After you have installed Hyper-V, you need to restart your computer.
Create an Ubuntu virtual machine on Windows 10
To create an Ubuntu virtual machine on Windows 10 Hyper-V, you could download the Ubuntu ISO file and install it like any operating system. However, there is a much easier way, using the Hyper-V Quick Create feature. In the Hyper-V VM Gallery, you will find not just two Windows 10 virtual machines; you will also currently find Ubuntu 18.04 LTS and Ubuntu 19.04. These are prepared Hyper-V virtual machines images, ready for you to download and install.
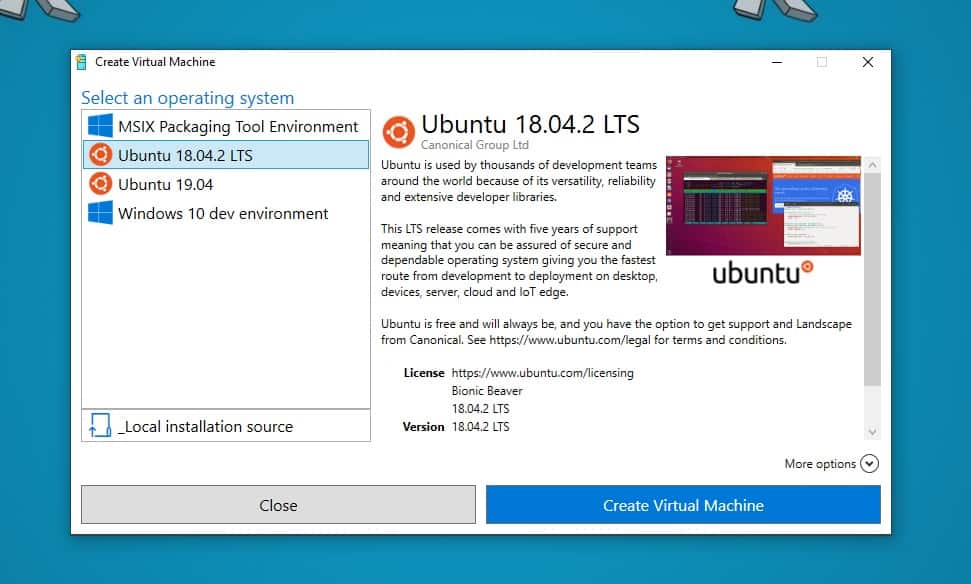
Select the Ubuntu version you want to install and click on Create Virtual Machine. This will start downloading the virtual machine image.
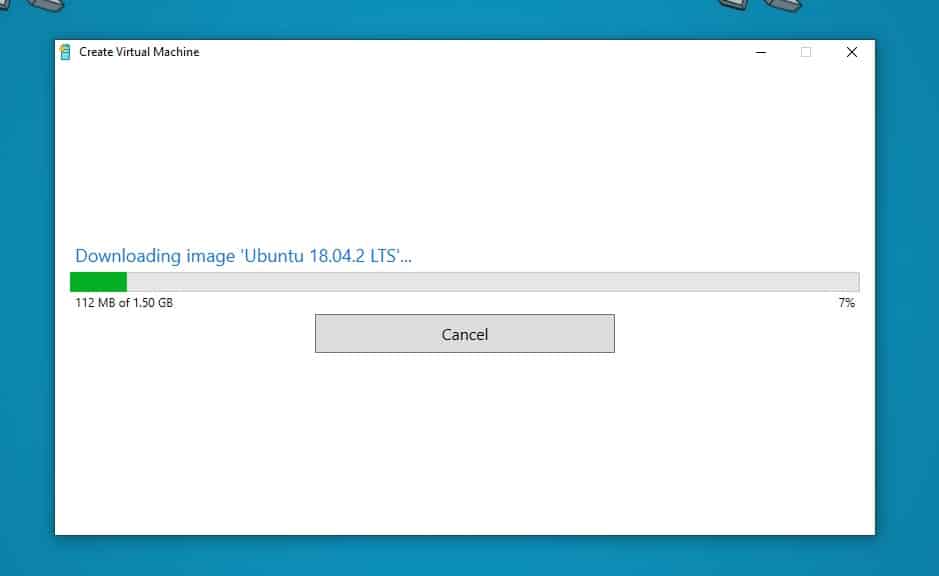
After the image is downloaded, you can either connect to the virtual machine and start it, or you can first modify the virtual machine settings.
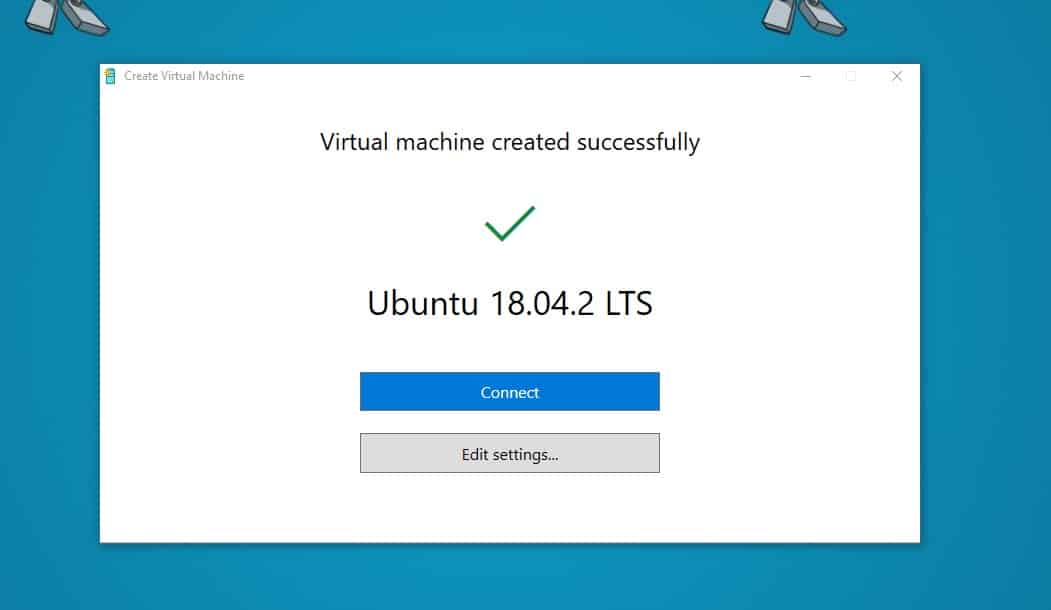
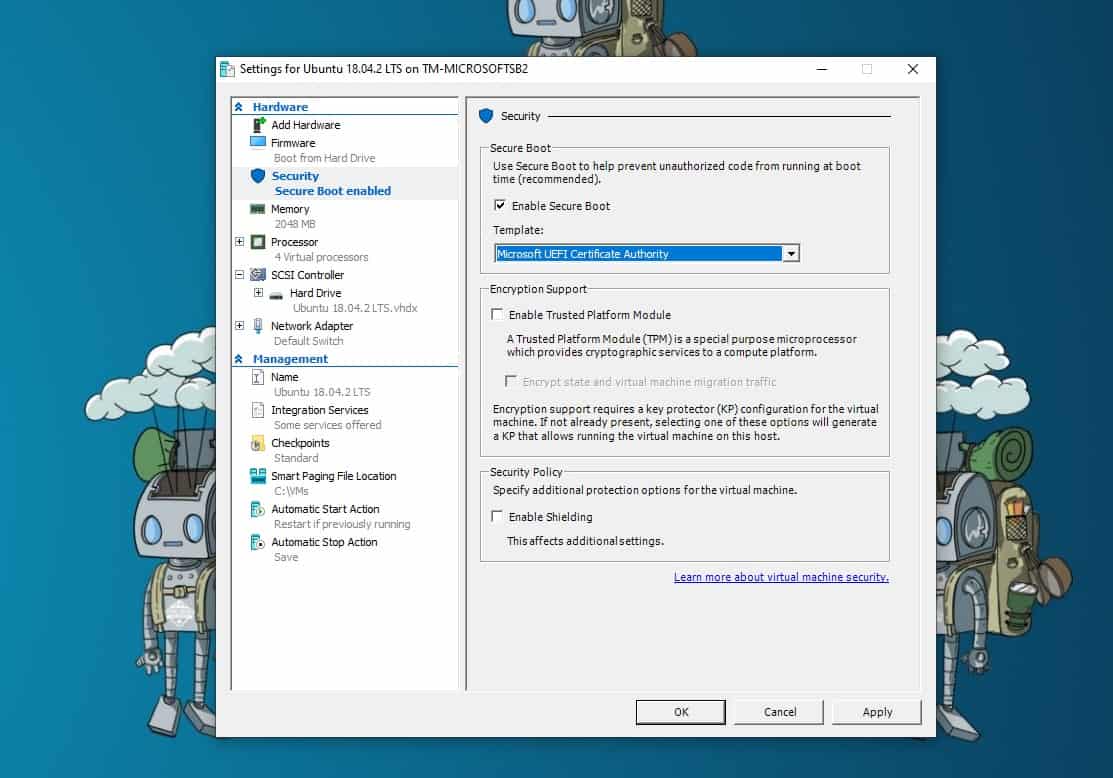
Optional: If you click on Edit settings, you will be able to configure the virtual machine hardware settings like vCPU or vRAM. You can also enable Secure Boot. If you enable Secure Boot for a Linux virtual machine, make sure you change the Secure Boot template to Microsoft UEFI Certificate Authority.
You can now start the Ubuntu VM.
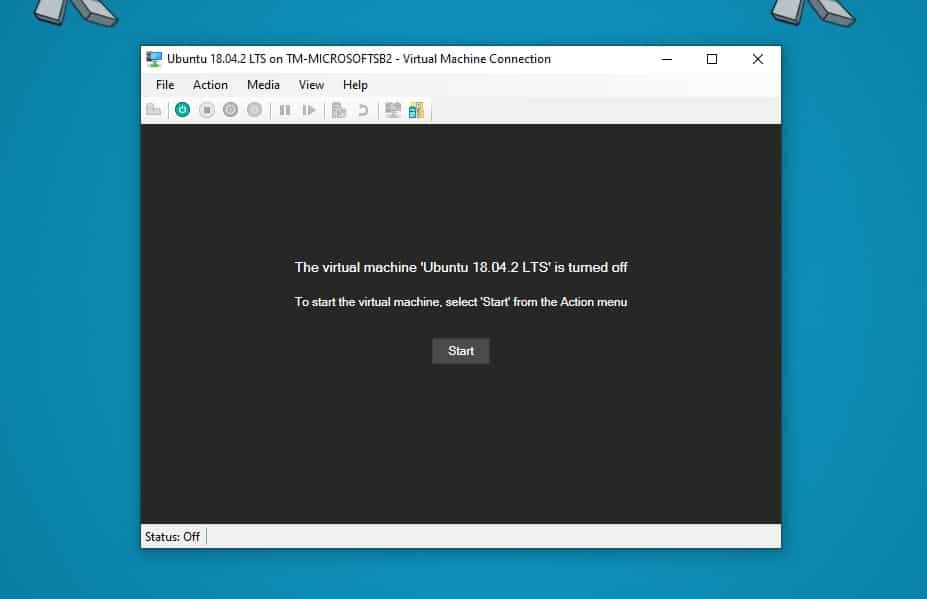
This will boot you in the Ubuntu installation, where you can set up your Ubuntu operating system.

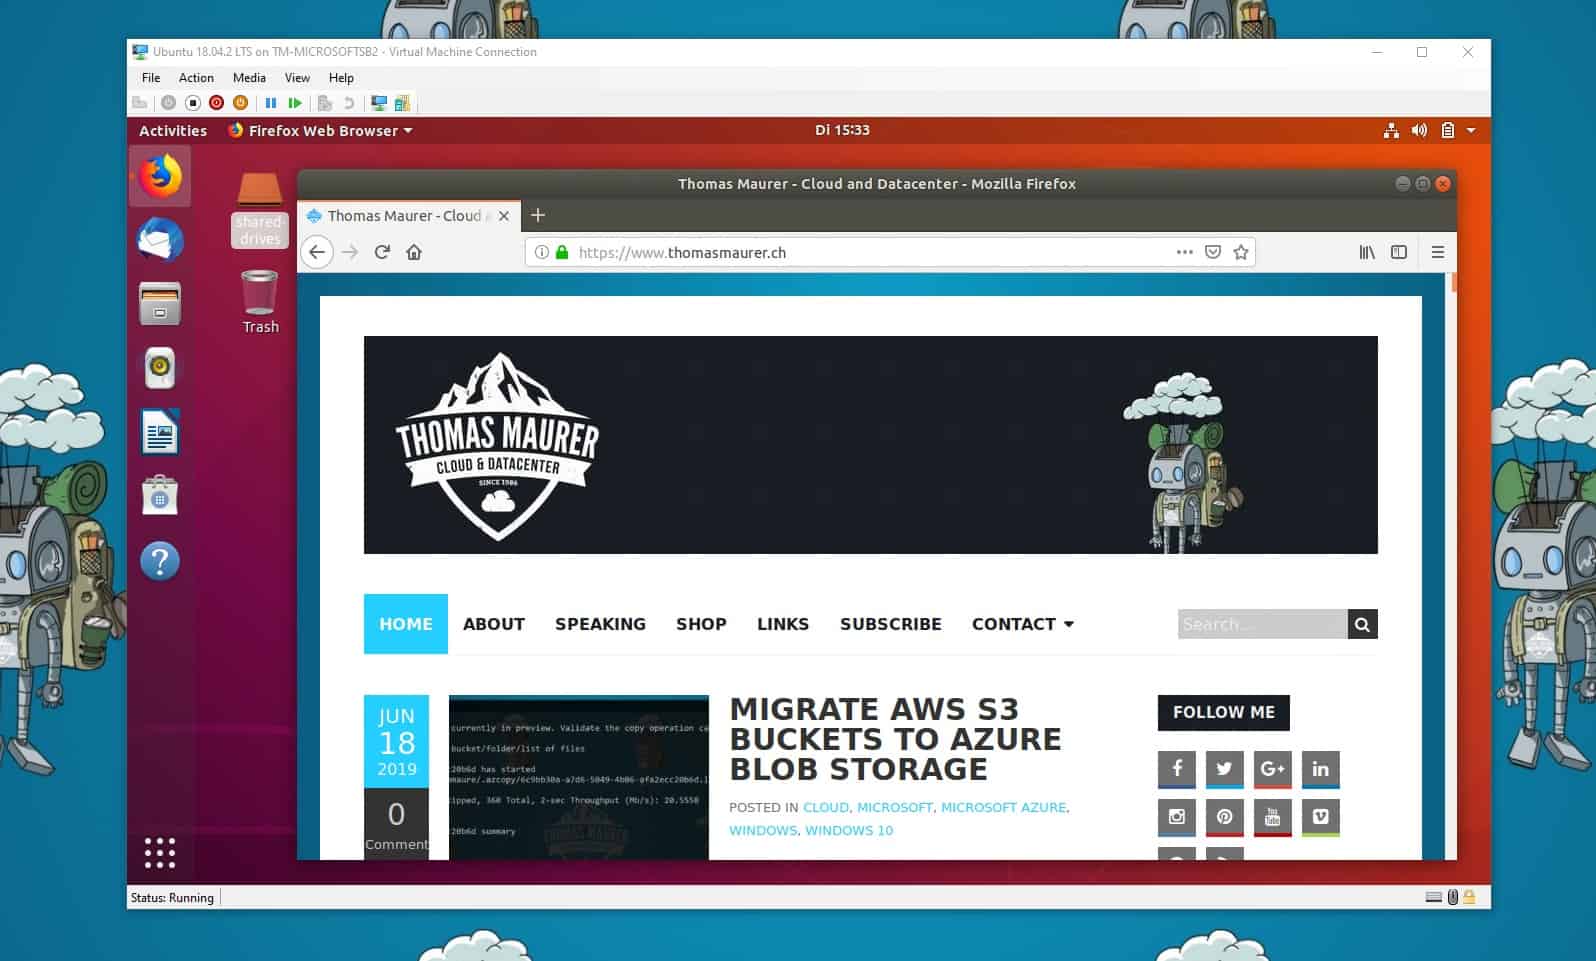
All the specific Hyper-V drivers for Ubuntu, are already included in the image. This allows you to use features like Hyper-V Enhanced Session Mode, which enables you also to use copy-paste, and others.
I hope this gives you a step-by-step guide, how you can create an Ubuntu VM on Windows 10 using Hyper-V. If you have any questions, please let me know in the comments.
Tags: Hyper-V, Linux, Microsoft, Secure Boot, Ubuntu, Ubuntu on Windows, Ubuntu on Windows 10, Virtual Machine, Virtualization, VM, VM Gallery, Windows, Windows 10, Windows 10 Hyper-V Last modified: June 26, 2019


Thanks. This guide is very nice. It was helped me.
Thank you! Very succinct and helpful.
You’re welcome :)
Beautifully written article. Thank you very much. It’s really helpful.
Thank you for your comment, glad it helped :)
How to create you own Quick create vm in Windows 10 Hyper-V?
Are there any differences between this method and WSL2 ?
Can it run as well as WSL2 on Surface pro X ?
Yes, it can run WSL 2! The difference is that with this method you get a full VM with all the advantages and disadvantages of a VM. It should be explained here: https://docs.microsoft.com/en-us/windows/wsl/about?WT.mc_id=thomasmaurer-blog-thmaure
I can never log into the machine. Keep getting blue xorg screen… put in username and password, but it always rejects it.