You might have seen that Hyper-V in Windows 10 got a new Quick Create Feature. This will open up a virtual machine gallery, which allows you to download different virtual machine images, like Windows 10 or Ubuntu. For example, the default image is a Windows 10 dev VM, which enables developers to quickly spin up a development environment with Visual Studio. But you can also add your own virtual machine templates in the Hyper-V VM Gallery.
To do that, you have to do three things:
- Create a virtual machine image (a .iso or compatible .vhdx file)
- Create a gallery source (.json file) and create a gallery item (configuration inside the .json file)
- Add the gallery source to the VM Gallery UI
Create a Hyper-V virtual machine image

You can use a .iso (disk image) or a compatible .vhdx (virtual hard drive) file. If you create a VHDX file, you will need to create a Hyper-V Generation 2 virtual machine and (usually) Sysprep the virtual machine. The Sysprep is not needed; however, in most cases, you want to do this. Check out my blog post about how to Sysprep Hyper-V VMs. In addition, the drive should also be at least 20GB.
Now make sure you store this where you can access it when you need it from the VM gallery. If you have multiple users using this image, all of them need access to it. You can place this on a web server, a file share, or even a local disk.
Create a Hyper-V gallery source and create a Hyper-V gallery item
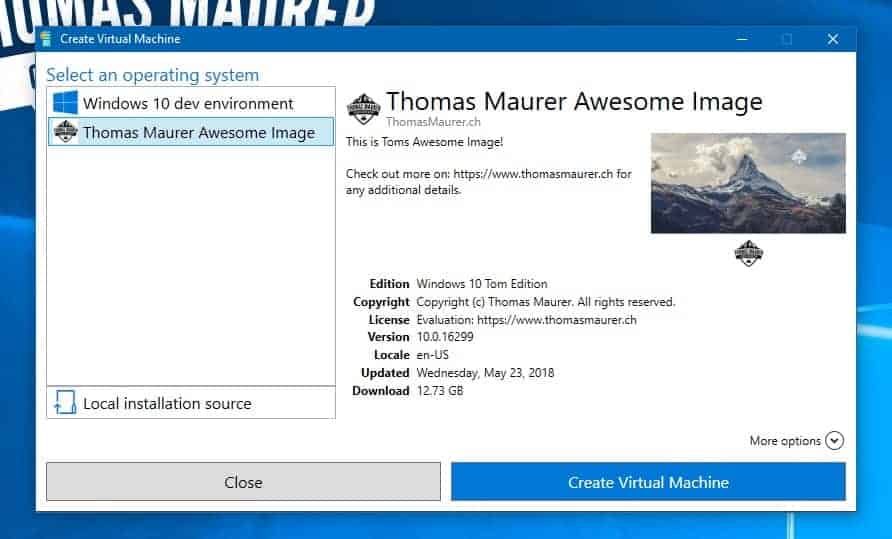
The next step is to create a new virtual machine gallery. This is a JSON file, which stores the VM images.
You can use my template:
For your virtual machine image, you will need the following information:
- Name
- Publisher
- Description
- Locale
- Version
- LastUpdated (in the following format: yyyy-mm-ddThh:mm:ssZ
- Disk (uri to the vhdx or iso file)
- Logo (uri)
- Symbol (uri)
- Thumbnail (uri)
The following notes:
To create the LastUpdated time, you can use the following command:
Get-Date -UFormat "%Y-%m-%dT%TZ" | clip.exe
To get the hashes of the files, you can use the following command:
Get-FileHash -Path .\TMLogo.jpg -Algorithm SHA256
You need to store this file also somewhere where the Hyper-V Manager can access it. So again, this can be a web server, file share, or local path.
Add the gallery source to the VM Gallery UI

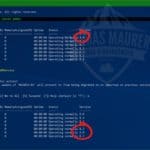
The last thing you need to do is to add the path of the virtual machine gallery to your Hyper-V machine. This can be done by adding a registry key to the computer you want to use it. If you’re going to use this on multiple machines, you can use GPOs or your device management to add the path to every computer.
Navigate to the following location:
Computer\HKEY_LOCAL_MACHINE\SOFTWARE\Microsoft\Windows NT\CurrentVersion\Virtualization\
Look for the GalleryLocations registry item and add your gallery path to the item.
I used the following sources:
- Microsoft Documentation from Sarah Cooley
- Microsoft Blog post from Lars Iwer