In this blog article, I am going to show you how you can add drivers to a Windows Server 2019 ISO Image or WIM file using PowerShell and the DISM module. This will allow you to already have the latest drivers within the Windows Server installation image when you install Windows Server 2019. We will add drivers to a Windows Server 2019 WIM file (WIM stands for Windows Imaging Format), which then can be used to create a new ISO image or for example in Windows Deployment Services.
Preparation

First, you will need to create three new folders called Drivers, ISO, and Mount. In my example, I created these in C:\Images.
- Drivers – This is the folder where you put all your extracted drivers, which you want to add to your Windows Server 2019 Image.
- ISO – This is where you can extract the Windows Server 2019 ISO Image. Basically all the files on the ISO file.
- Mount – This is an empty folder, which will be used to mount the WIM files.
You can now mount the ISO using Windows Explorer or the following PowerShell commands and copy the files to the ISO folder.
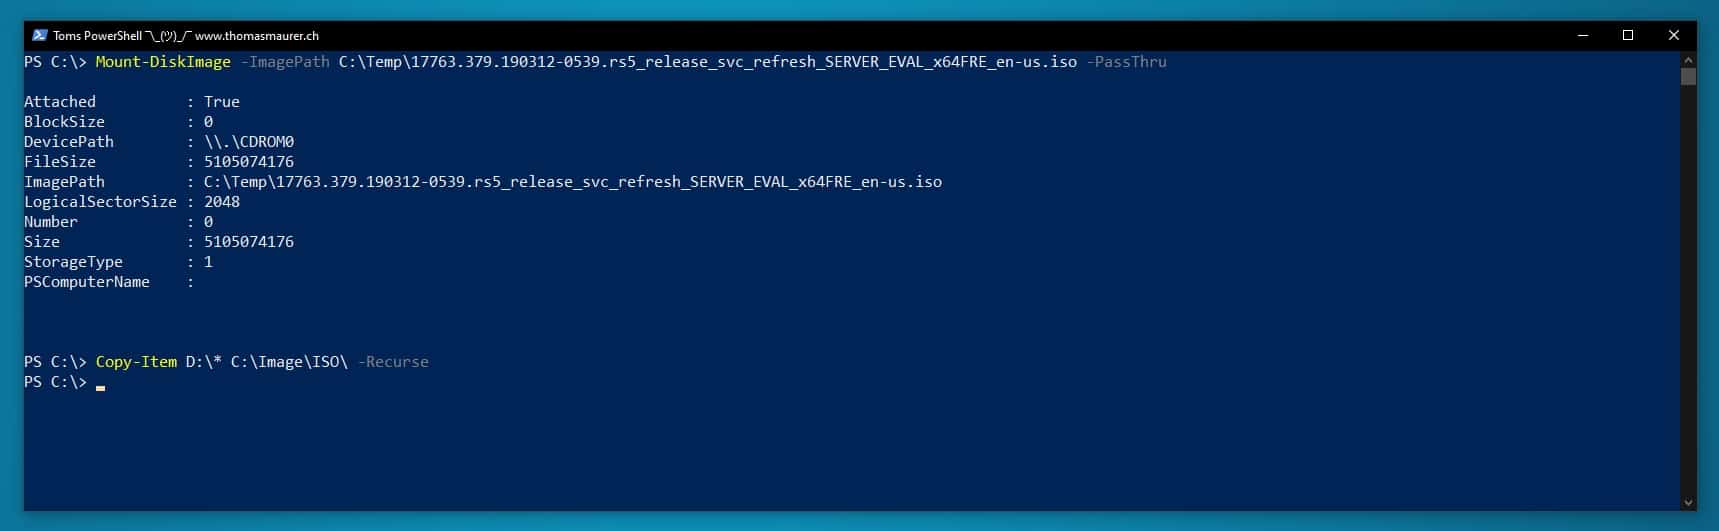
Mount-DiskImage -ImagePath C:\Temp\17763.379.190312-0539.rs5_release_svc_refresh_SERVER_EVAL_x64FRE_en-us.iso
Copy-Item D:\* C:\Image\ISO\ -Recurse
In your case, the ISO may be mounted on a different drive letter instead of my D: drive.
Add drivers to the Windows Server 2019 Image
First, you can check in which Windows editions you want to add the drivers. To check that you can use the following PowerShell command:
Get-WindowsImage -ImagePath C:\Image\ISO\sources\install.wim
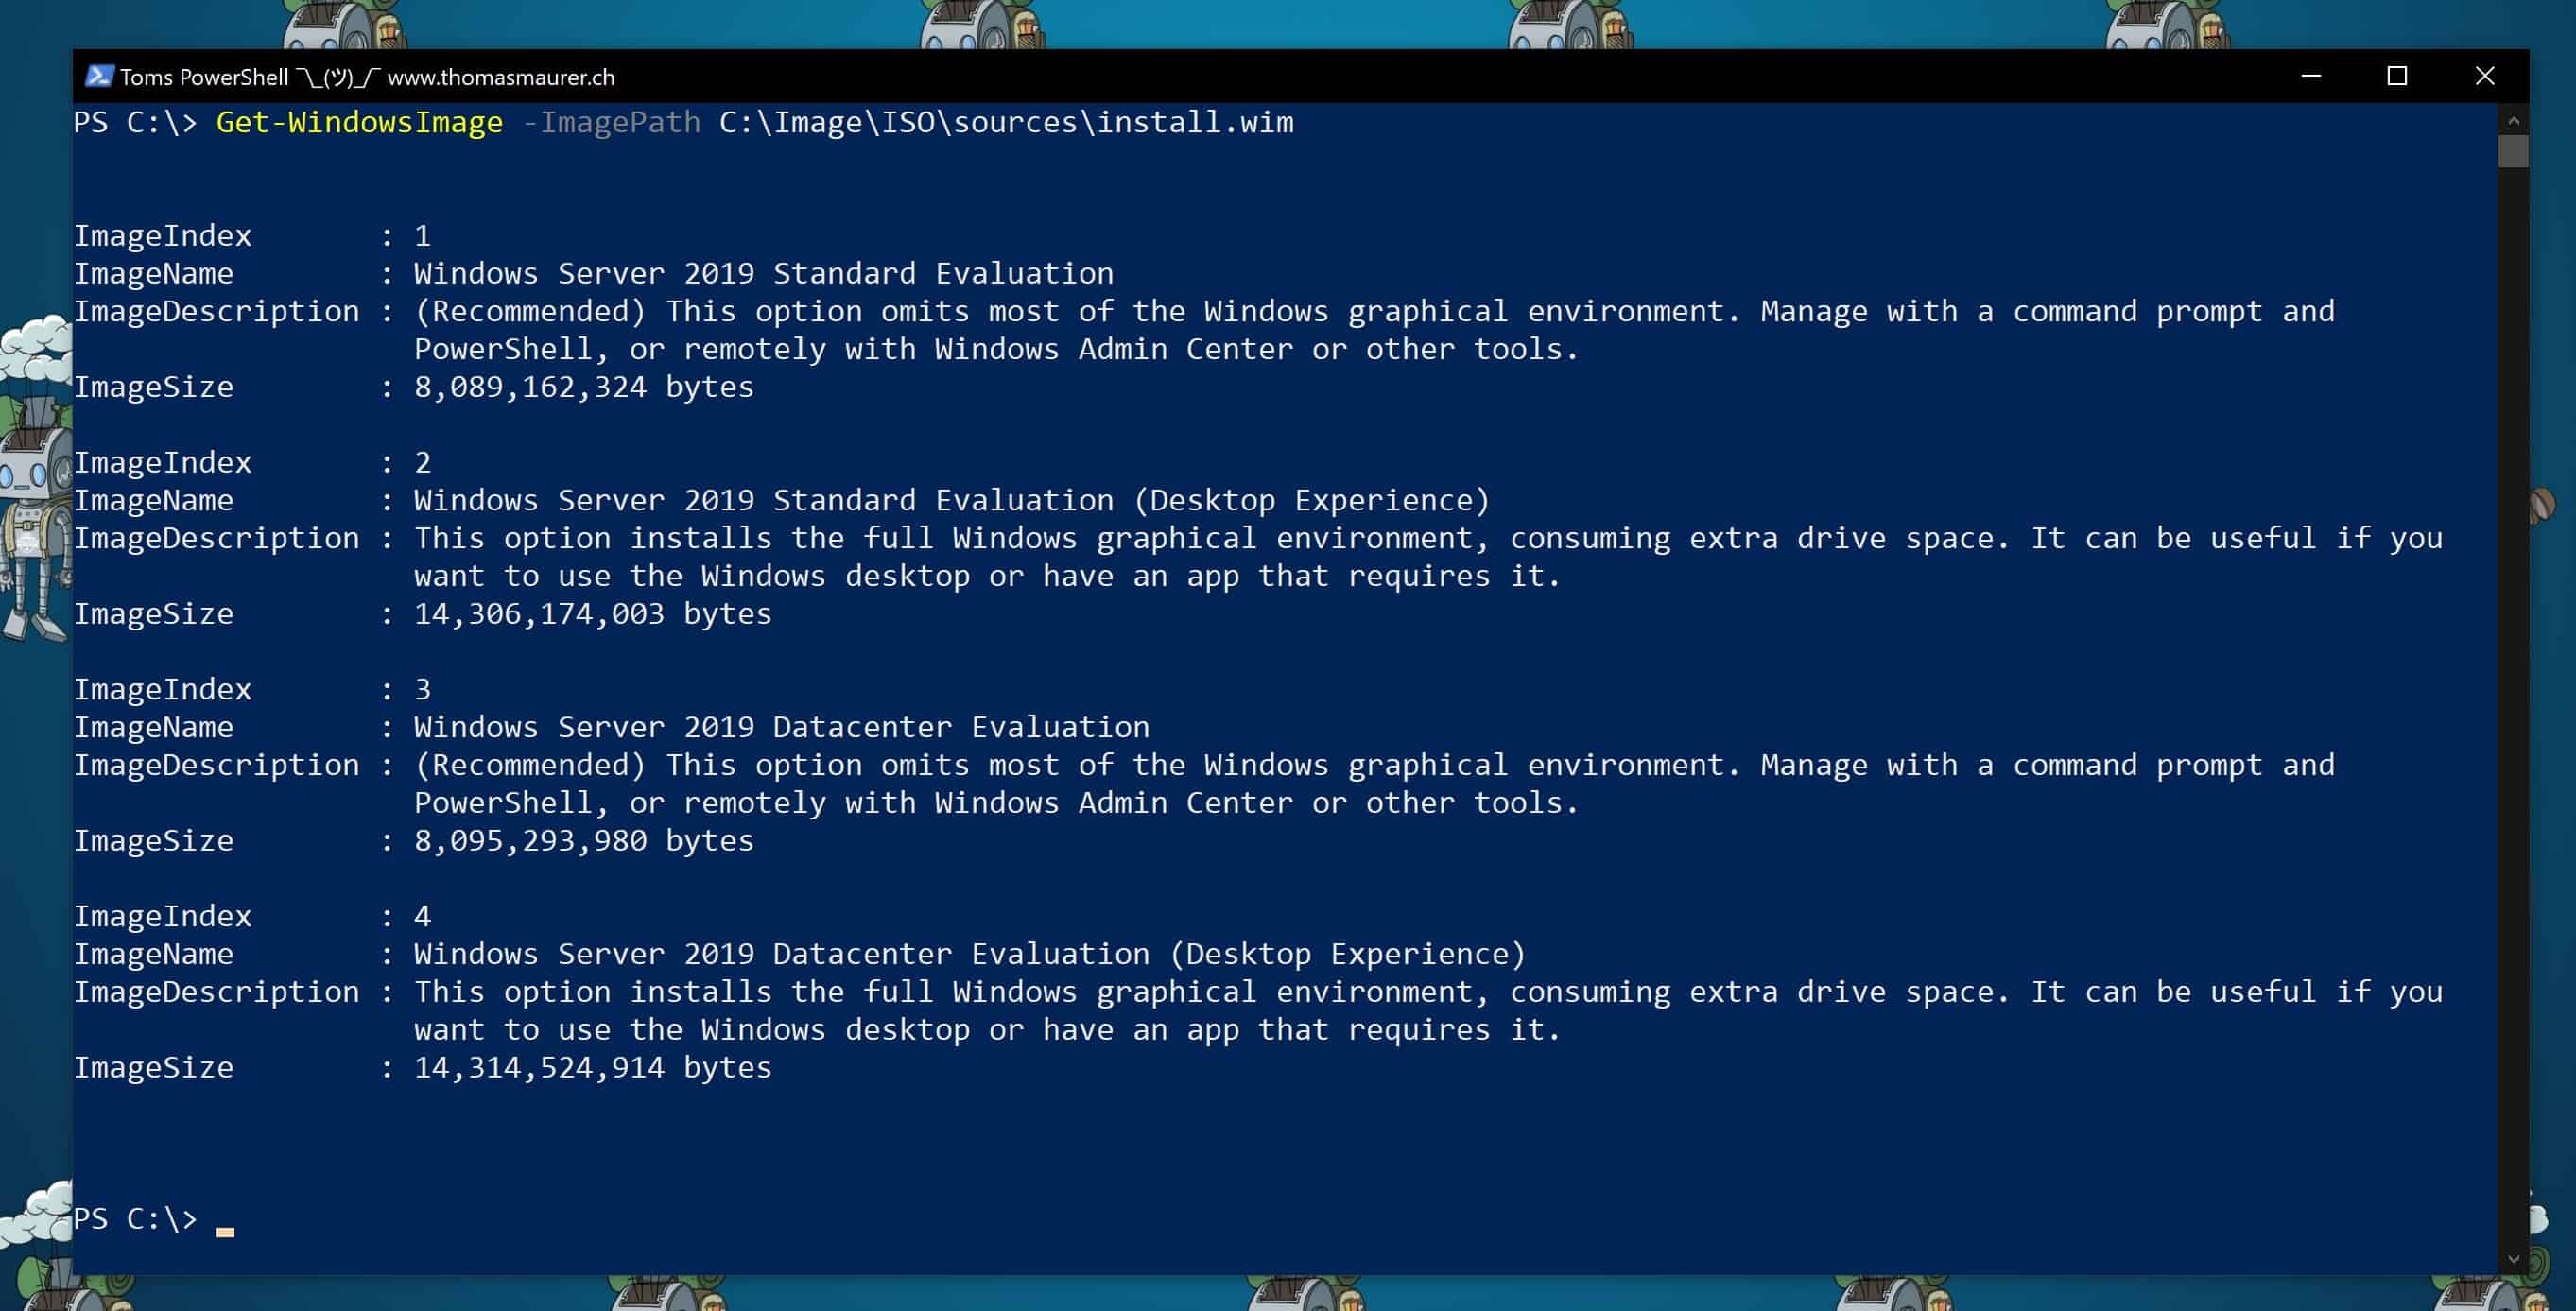
The Get-WindowsImage cmdlet will show you the different editions included in the WIM file.
After we have seen the Index numbers, we can now mount the Windows Image our Mount folder. In my example, I use Image Index 3, which is the Windows Server 2019 Datacenter Core Edition. If you want to check which editions of Windows Server 2019 you should use, check out the Microsoft Docs.
Mount-WindowsImage -Path C:\Image\Mount -ImagePath C:\Image\ISO\sources\install.wim -Index 3

After the image is mounted you can now add the drivers to the Windows Server 2019 Image using the following command:
Add-WindowsDriver -Path C:\Image\Mount -Driver C:\Image\Drivers -Recurse
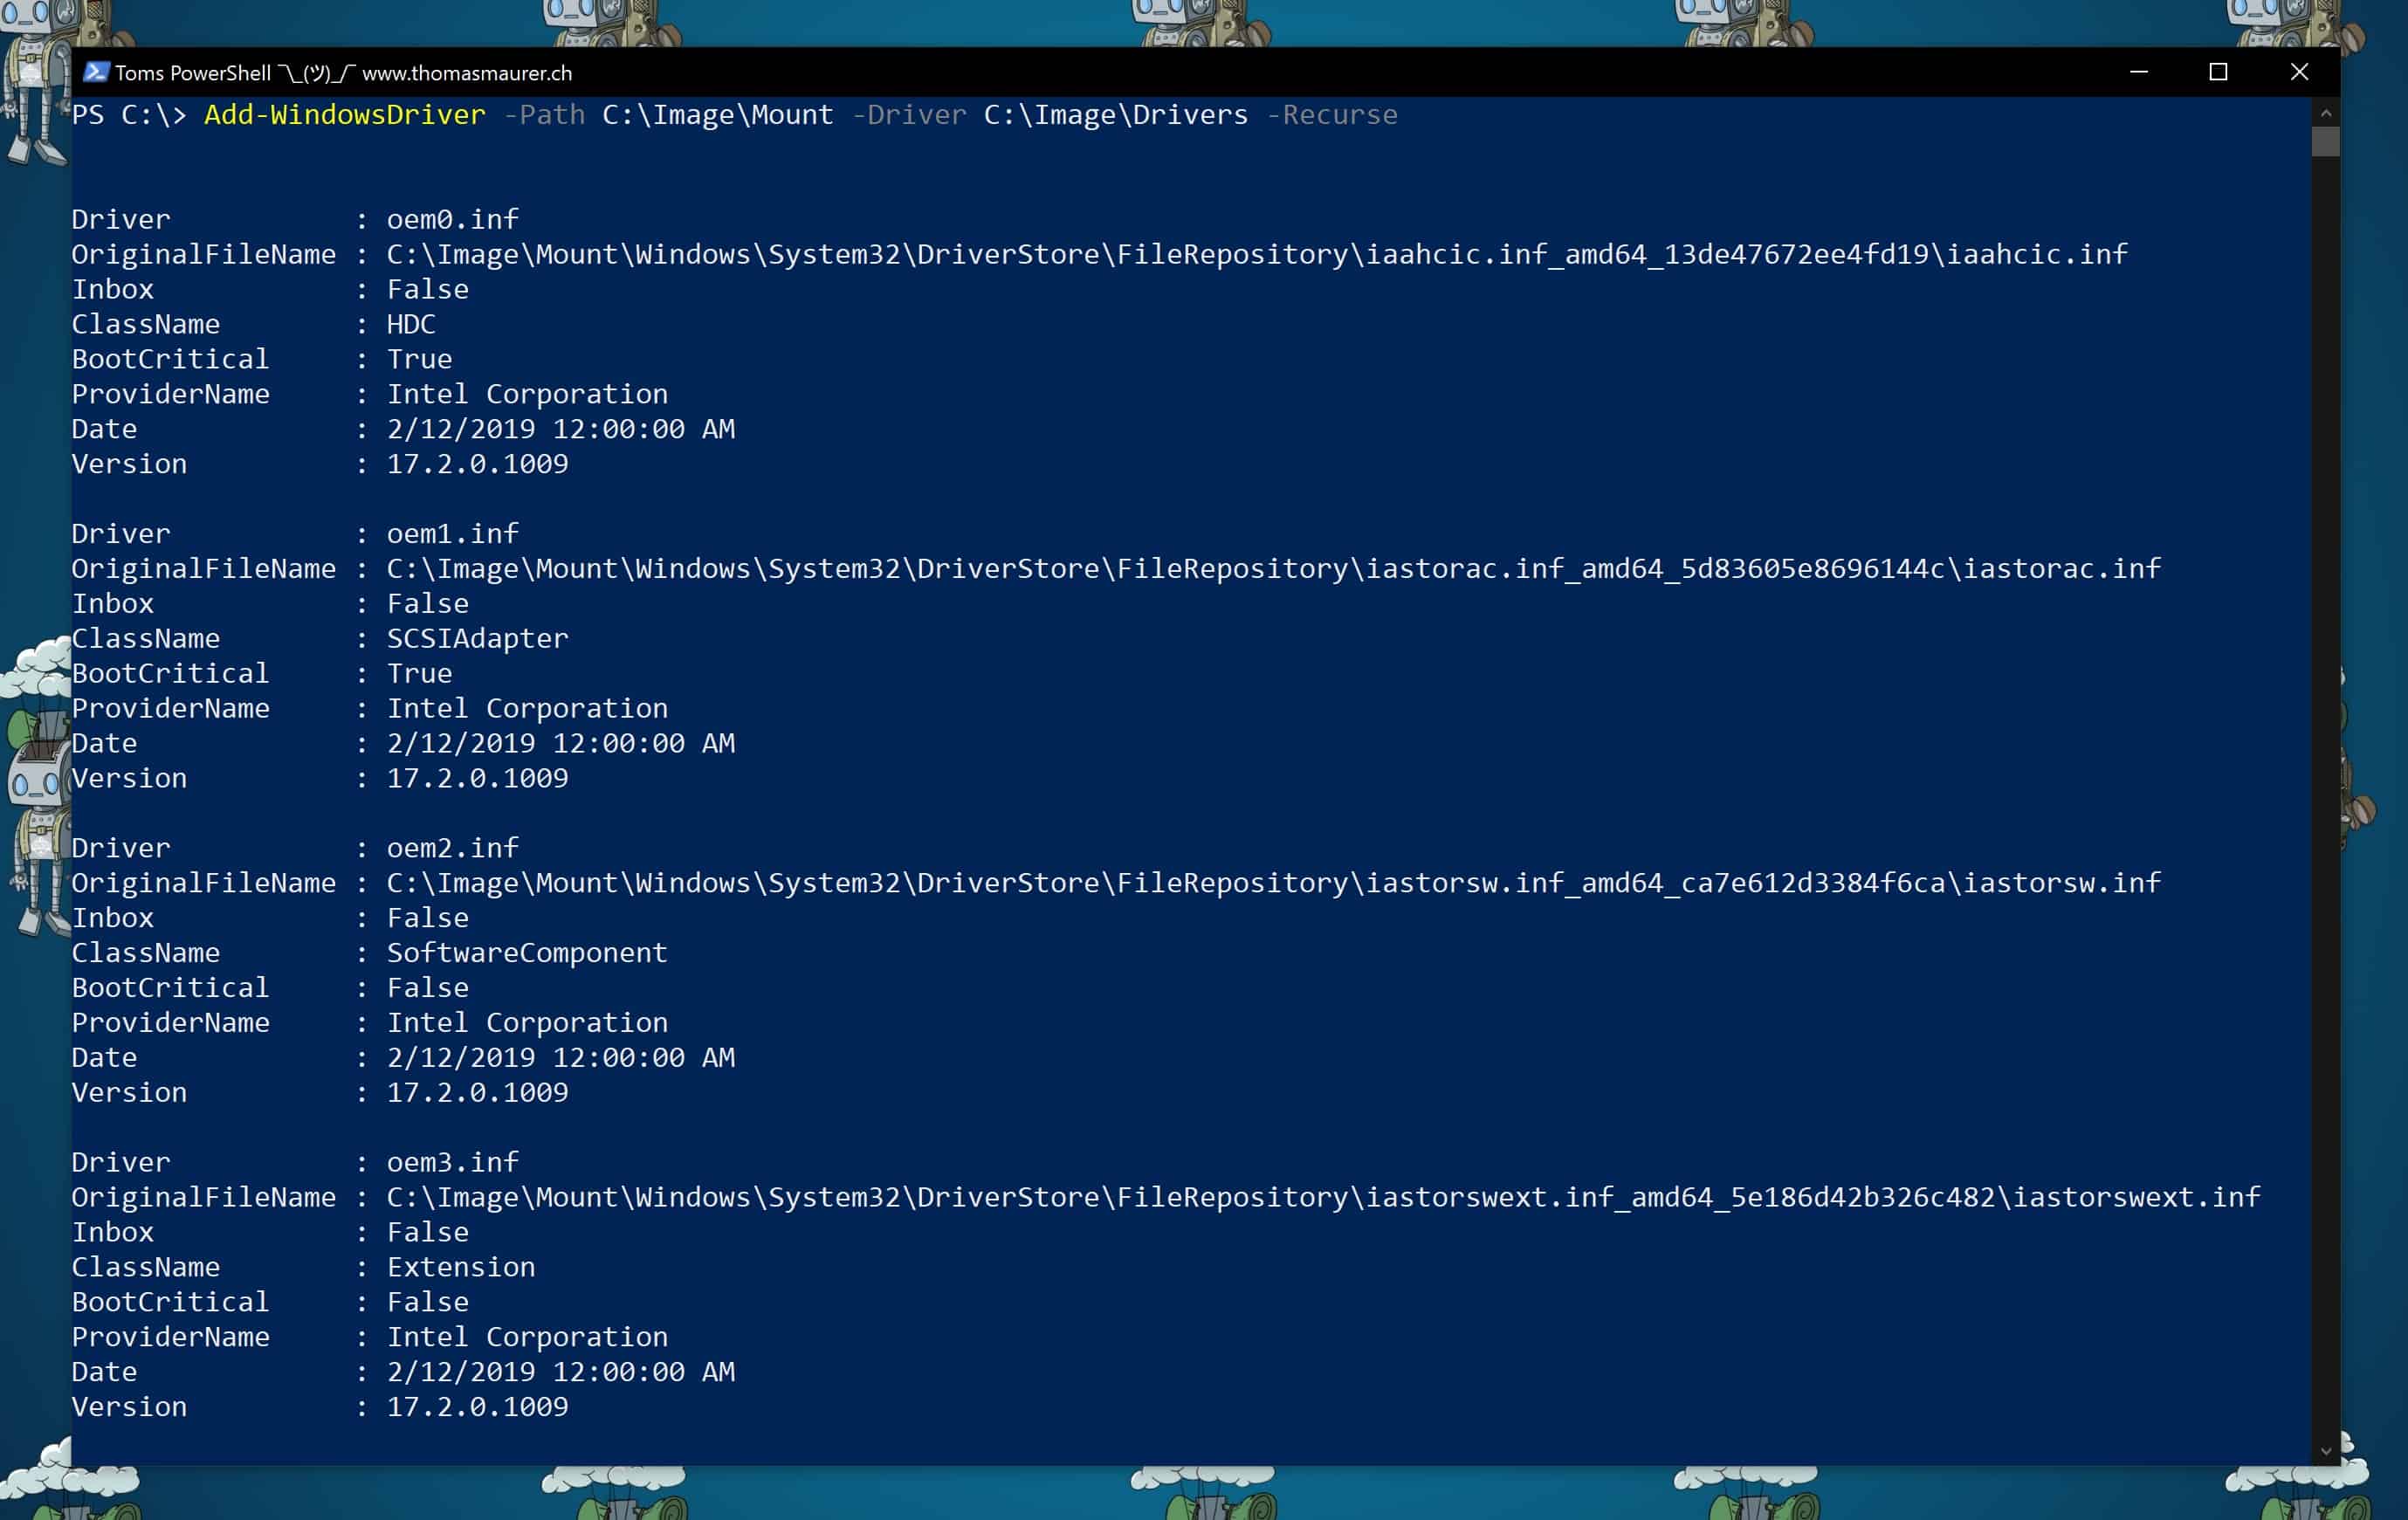
After you have added all the drivers to the image, you need to dismount the image and save it.
Dismount-WindowsImage -Path C:\Image\Mount -Save
We have now added the drivers to the Install image, and you should also add the drivers to your boot image if it is, for example, a network or storage controller driver you might need to install the server. To do this do the same steps to the C:\Image\ISO\sources\boot.wim.
Now you can use these WIM files with Windows Deployment services or create a USB drive to install Windows Server 2019. If you want to create an ISO file, you can use the oscdimg command-line tool. The oscdimg tool comes with the Windows Assessment and Deployment Kit (Windows ADK), which you can get here.
oscdimg -n -m -bc:\temp\ISO\boot\etfsboot.com C:\temp\ISO C:\temp\mynew.iso
I hope this post helps you to add drivers to your Windows Server image. If you have any questions, feel free to leave a comment.