PowerShell is a powerful scripting language that can help you automate various tasks on your Windows and Linux system. One of the common tasks that you may need to perform is moving files from one location to another. In this blog post, I will show you how to use PowerShell to move files with different scenarios and options.
Moving a Single File
To move a single file, you can use the Move-Item cmdlet with the following syntax:
Move-Item -Path -DestinationFor example, to move a file named test.txt from C:\Temp to C:\Backup, you can run the following command:
Move-Item -Path C:\Temp\test.txt -Destination C:\Backup
This will move the file test.txt to the Backup folder and delete it from the Temp folder. You can use the -PassThru parameter, which will return the moved file object as output. For example:
Move-Item -Path C:\Temp\test.txt -Destination C:\Backup -PassThruThis will move the file test.txt to the Backup folder and display its properties on the console.
Moving All Files in a Folder
To move all files in a folder, you can use the wildcard character (*) to specify the source files. For example, to move all files in C:\Temp to C:\Backup, you can run the following command:
Get-ChildItem -Recurse -Path C:\temp\* | Move-Item -Destination C:\BackupThis will move all files in the Temp folder to the Backup folder and delete them from the Temp folder.
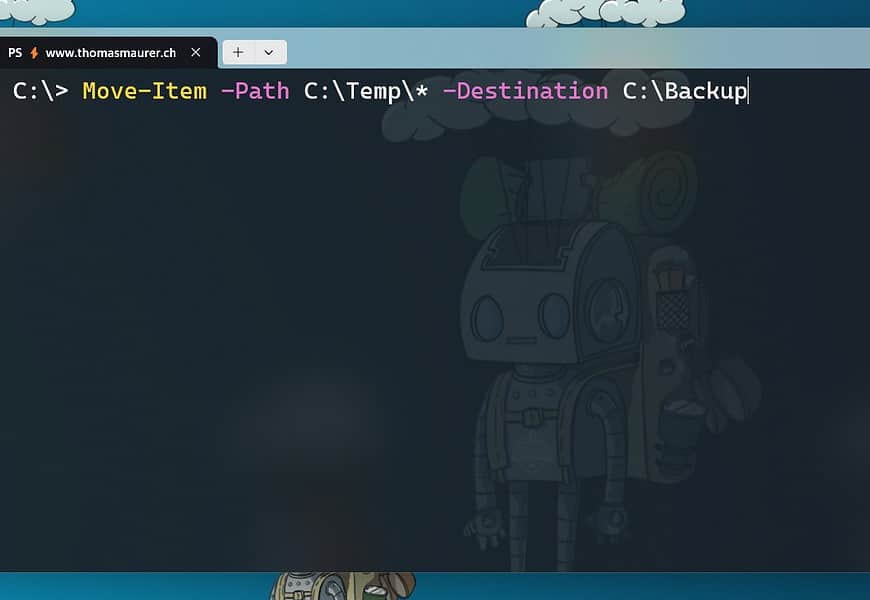
Moving All Files and Subfolders
To move all files and subfolders in a folder, you can use the -Recurse parameter, which will include all child items in the source path. For example, to move all files and subfolders in C:\Temp to C:\Backup, you can run the following command:
Move-Item -Path C:\Temp\* -Destination C:\Backup -RecurseThis will move all files and subfolders in the Temp folder to the Backup folder and delete them from the Temp folder.
Overwriting an Existing File
By default, PowerShell will not overwrite an existing file in the destination folder if it has the same name as a source file. You will get an error message like this:
Move-Item : Cannot create a file when that file already exists.To overwrite an existing file, you can use the -Force parameter, which will replace any existing file with the same name. For example, to overwrite a file named test.txt in C:\Backup with a file named test.txt in C:\Temp, you can run the following command:
Move-Item -Path C:\Temp\test.txt -Destination C:\Backup -ForceThis will replace the file test.txt in the Backup folder with the file test.txt from the Temp folder.
Conclusion
In this blog post, I have shown you how to use PowerShell to move files with different scenarios and options. You can use the Move-Item cmdlet with various parameters to customize your file moving operations. I hope you found this post useful and learned something new. If you have any questions or feedback, please leave a comment below.

If you want to learn more PowerShell tricks when working with Microsoft Azure, check out my blog post 6 Command Line (PowerShell & CLI) Tips & Tricks for Microsoft Azure you should know about!
Tags: file, Linux, Microsoft, Move, Move Files, PowerShell, Windows, Windows Server Last modified: May 6, 2024


You wrote several times in the article that when you use the PassThru parameter, the original files remain in Source Folder. But that’s not true. The PassThru parameter passes information about the moved object to the output.
Yes this is correct, I fixed it.
Move-Item has no recurse parameter at all.