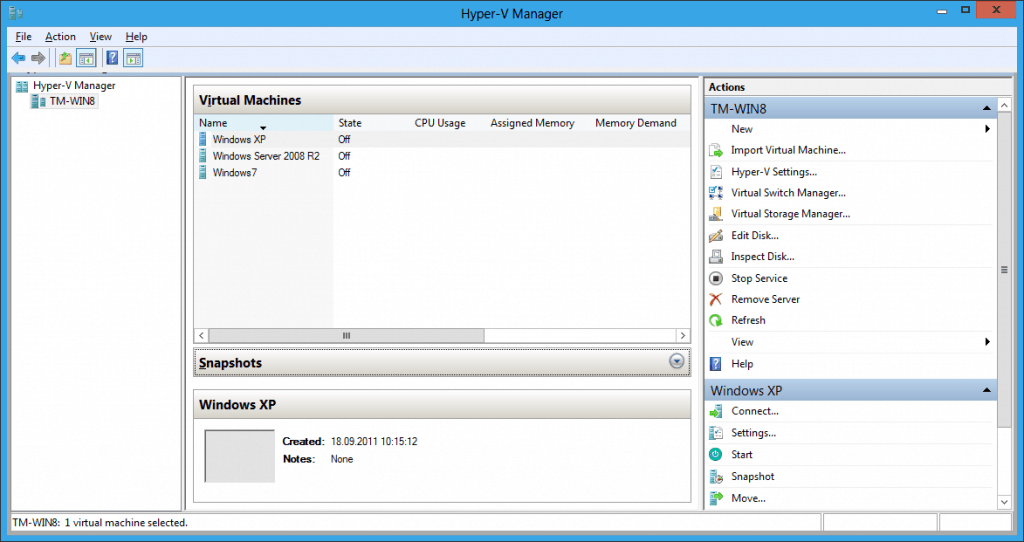
Last year Microsoft announced that Hyper-V is included in the Windows 8 Pro and Windows 8 Enterprise. Hyper-V on Windows 8 is great if you want to run your demo environment on your client or you have special application which do not run on Windows 8.
It’s a great solution for me. Sure there were other solutions like Virtual PC, Virtual Box and VMware Workstation before, but using the built-in Hyper-V has some advantages which make my life a little easier.
- PowerShell support – it lets me start up a whole lab environment within seconds. I can quick import Virtual Machines and start them up.
- Performance – it offers great performance. (Same as Windows Server 2012 Hyper-V, Windows 8 Hyper-V allows you to create VMs with 64 virtual CPUs and much more)
- VHD and VHDX – it’s great to work with one virtual disk format and not have to convert virtual disks and if you need you can native boot from VHD or VHDX
- Dynamic Memory
- Remote Management for Hyper-V Servers (like the RSAT)
- Live Storage Migration – Move a running Virtual Machine from local disk to another local disk, USB or network share and back
To enable Hyper-V on your Windows 8 system you have some requirements.
- Windows 8 Pro or Windows 8 Enterprise
- CPU Virtualization Feature (Intel VT or AMD-V)
- Hardware based Data Execution Prevention or DEP (AMD NX and Intel XD)
- 64-bit system that has Second Level Address Translation (SLAT)
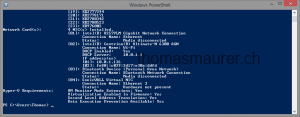
To check the hardware requirements of your system you can use the command line utility systeminfo:
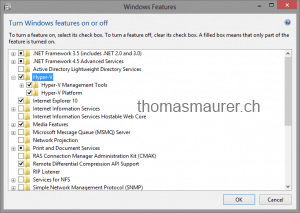
To install Hyper-V on your Windows 8 you have two different ways to enable. First you could enable over the GUI.
or you could use my favorite way, Windows PowerShell:
Enable-WindowsOptionalFeature –FeatureName Microsoft-Hyper-V -All
For more information about Hyper-V on Windows 8 checkout the Windows Client Hyper-V TechNet page.
Tags: Client, Client Hyper-V, Hyper-V, Microsoft, PowerShell, Windows, Windows 8, Windows 8 Enterprise, Windows 8 Pro, Windows Powershell Last modified: December 17, 2012
