
Today I came across a tweet by Microsoft Program Manager Ned Pyle mentioning that in-place upgrade for Windows Server VMs in Microsoft Azure is now supported. There is now an official Microsoft doc, which describes the process and the considerations to for the in-place upgrade of Windows Server running in an Azure virtual machine (VM). An in-place upgrade allows you to go from an older operating system to a newer one while keeping your settings, server roles, and data intact.
Before in-place upgrade Windows Server on an Azure VM
Before you in-place upgrade Windows Server in an Azure VM, make sure you are aware of the following prerequisites.
- In-place upgrade is supported to:
- Windows Server 2019
- Windows Server 2022
- There are workarounds for not yet supported Windows versions.
- Enough free diskspace on the system disk to perform an in-place upgrade. Check out Microsoft Learn.
- Disable antivirus and anti-spyware software and firewalls. This can be reenabled after the upgrade.
- VM needs to use volume license. This is the default for VMs created on Azure. If your VM was migrated to Azure, you will need to upgrade the VM to volume license.
- The in-place upgrade process requires the use of Managed Disks on the VM to be upgraded. If the VM is currently using unmanaged disks, then follow these steps to migrate to Managed Disks.
How to In-place upgrade Windows Server on Azure
- Create snapshot of the operating system disk
We recommend that you create a snapshot of your operating system disk and any data disks before starting the in-place upgrade process. - Create upgrade media disk
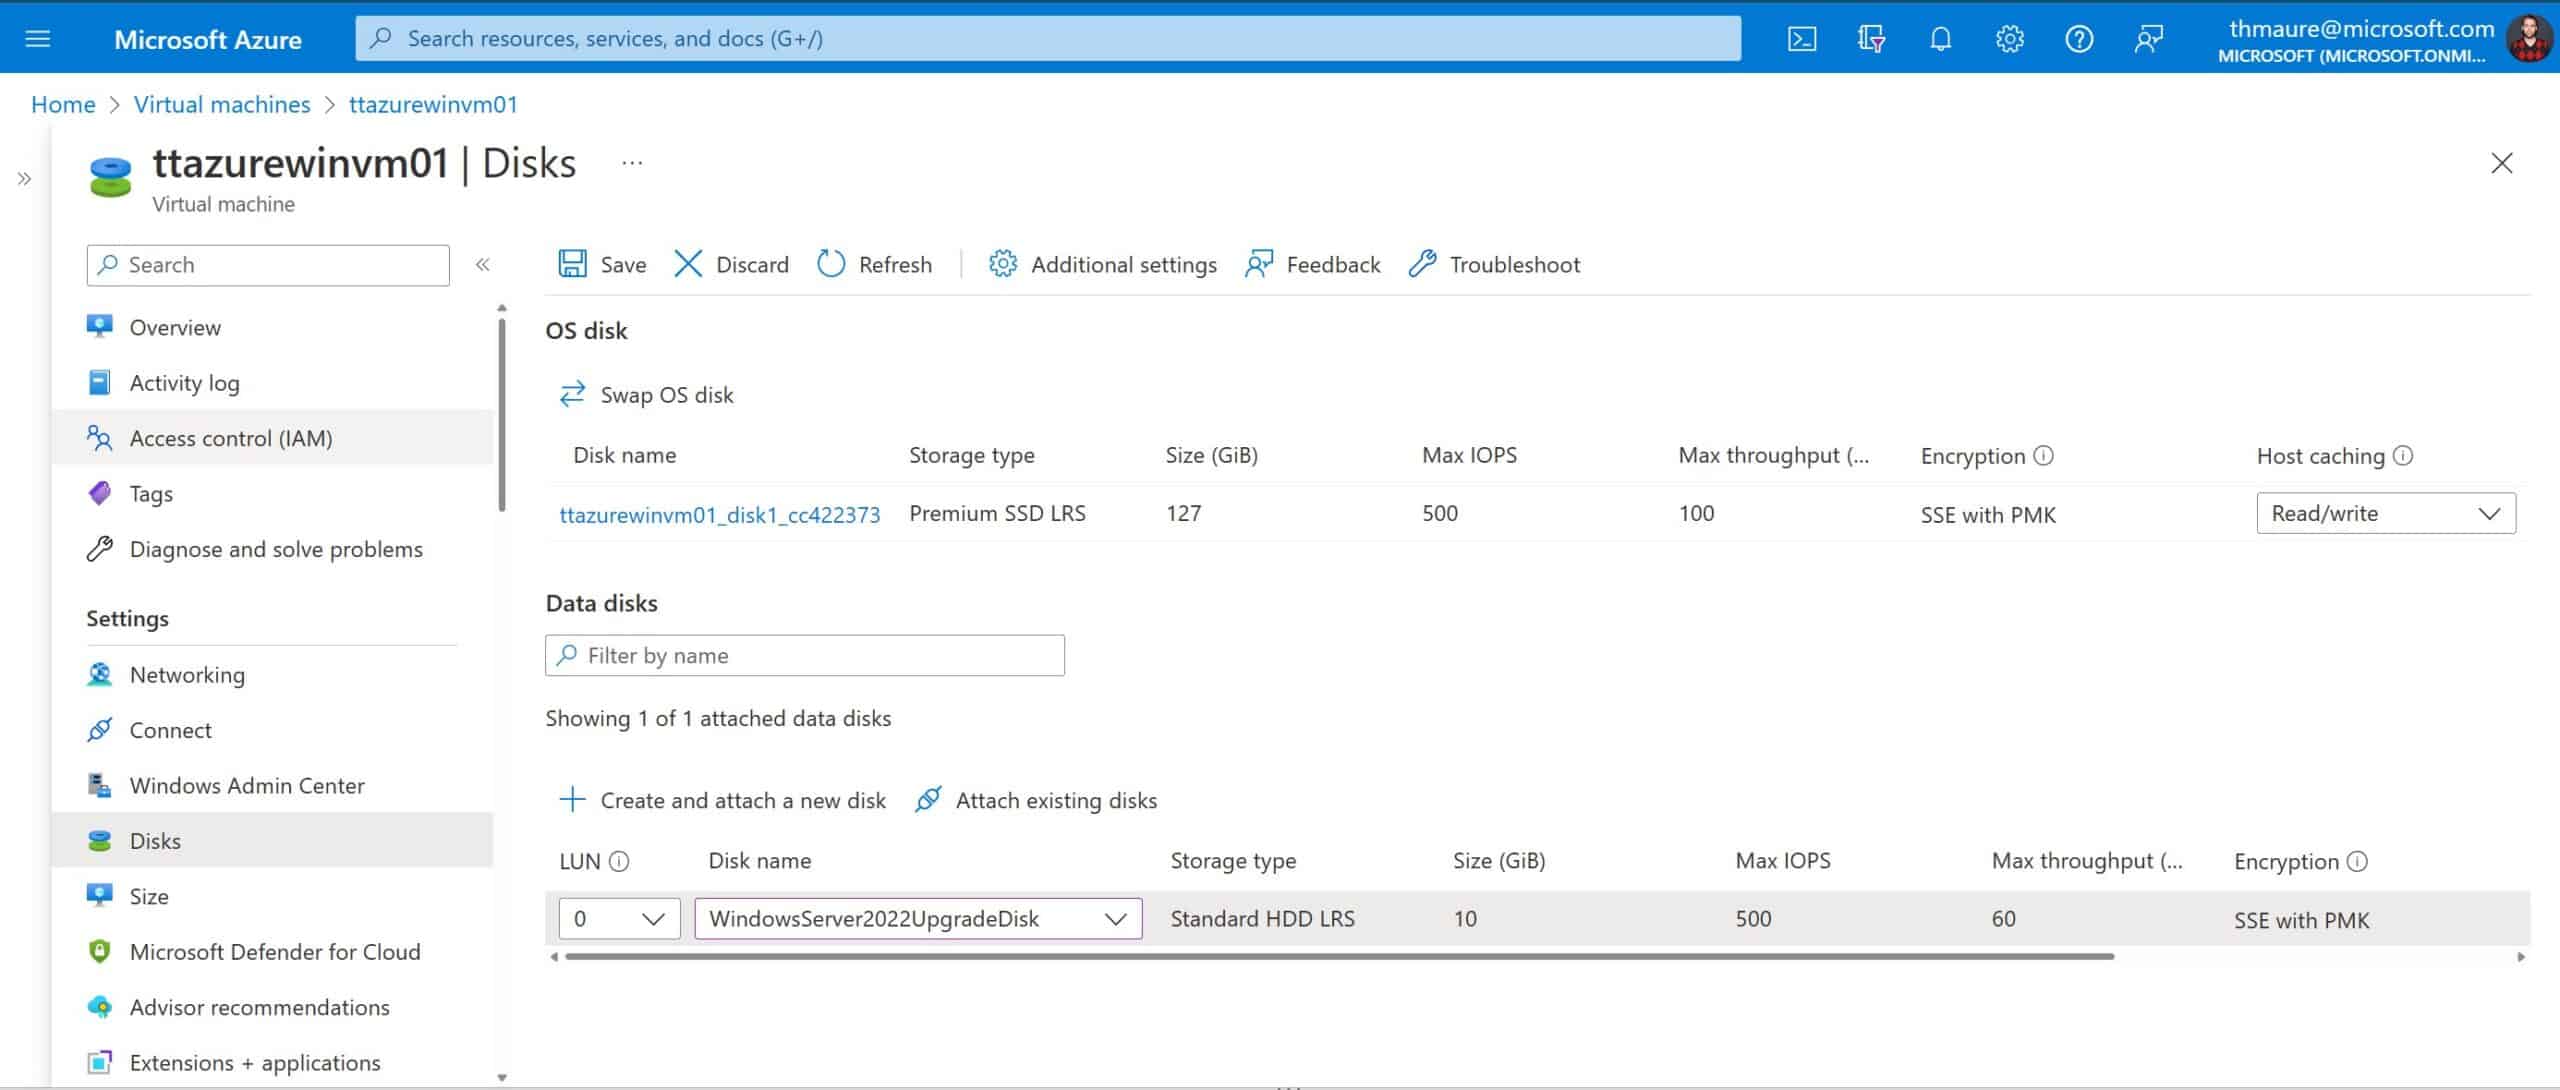
To perform an in-place upgrade the upgrade media must be attached to the VM as a Managed Disk. You can find more on how to create an upgrade media disk using PowerShell here. - Attach upgrade media to the VM
This can be done using the Azure portal, CLI, or PowerShell. You can find the instructions here.
- Perform in-place upgrade
This is a similar process as on a local Windows Server. Connect to the Windows Server using RDP.- Determine the drive letter for the upgrade disk (typically E: or F: if there are no other data disks).
- Open PowerShell, and change directory to the only directory on the upgrade disk. Execute the following command to start the upgrade:
.\setup.exe /auto upgrade /dynamicupdate disable - Select the correct “Upgrade to” image based on the current version and configuration of the VM.
- During the upgrade process the VM will automatically disconnect from the RDP session. After the VM is disconnected from the RDP session the progress of the upgrade can be monitored through the screenshot functionality available in the Azure portal.

- Post upgrade steps
Once the upgrade process has completed successfully the following steps should be taken to clean up any artifacts which were created during the upgrade process:- Delete the snapshots of the OS disk and data disk(s) if they were created.
- Delete the upgrade media Managed Disk.
- Enable any antivirus, anti-spyware or firewall software that may have been disabled at the start of the upgrade process.

Conclusion
It is great to have now to have in-place upgrade support for Windows Server on Microsoft Azure. Make sure you check out the full and always up-to-date documentation on Microsoft Learn.
Tags: Azure, Azure VM, Cloud, Hyper-V, In-place, In-place upgrade, Microsoft, Microsoft Azure, PowerShell, Upgrade, Virtualization, Windows Server, Windows Server on Azure Last modified: January 29, 2023


Hi Thomas,
Thanks you for the article. Do you know the Microsoft Statement regarding Linux in place Upgrade on Azure VM?
Asked for a doc update clarifying that the section saying Windows versions not supported is referring to the target version.
Hi Thomas
Great news and great guide. I am sure this will be helpful for a lot of people with older Windows server that need to upgrade, but don’t want to go through all the trouble migrating to a new server.
Thanks!