Getting started and Learn PowerShell on Microsoft Learn!
I remember running my first commands and building my first automation using Windows PowerShell back...
Learn about Windows Server on Microsoft Azure
As many of you know, Microsoft Azure is the best cloud to run Windows Server workloads. Last week the team published two new Microsoft...

Update PowerShellGet and PackageManagement
Since I am just setting up a new work machine, I wanted to share some information how you can update PowerShellGet and PackageManagement to...
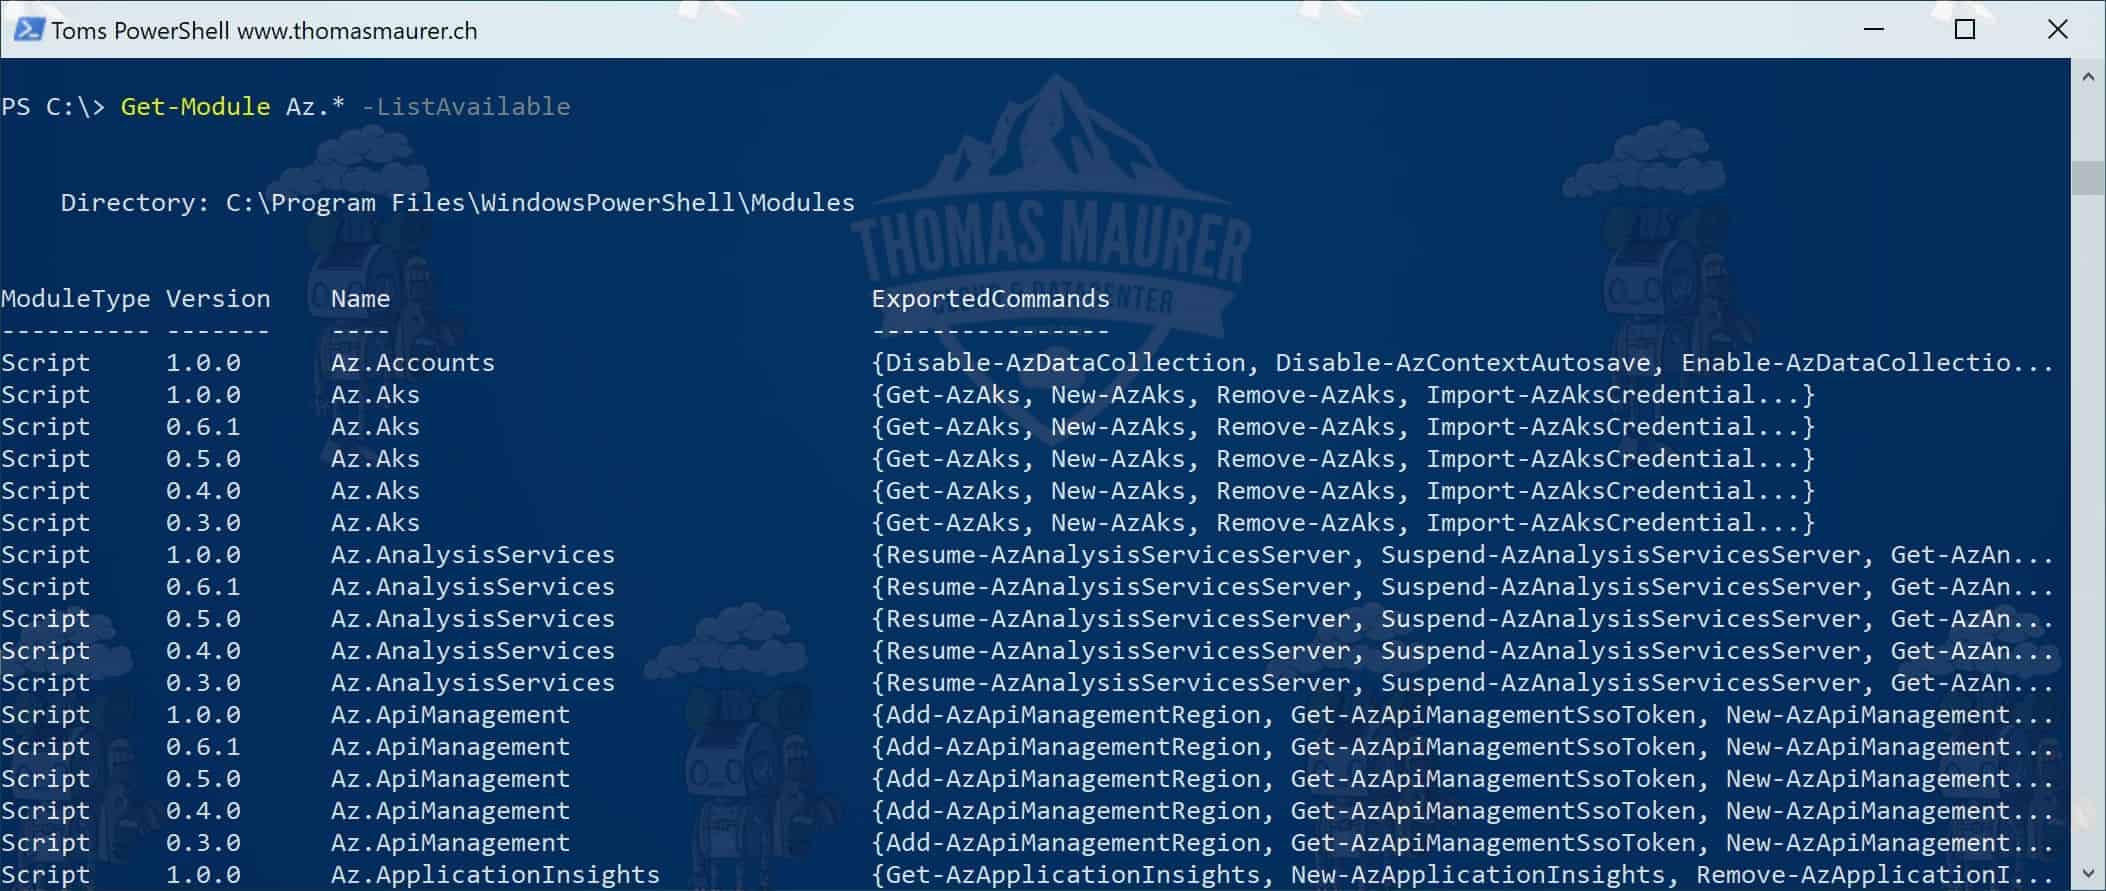
How to Install the Azure PowerShell Module
This blogs post describes how you can install the Azure PowerShell module. Microsoft a couple of...

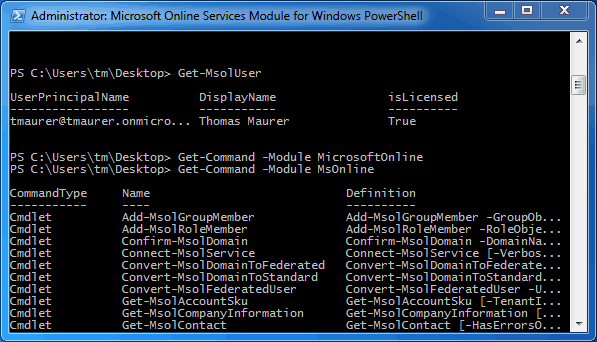
Manage Windows Azure AD using Windows PowerShell
Well I am a huge fan of Microsoft Office 365 and we are not only using this in our company, I am also using Office 365 for my mothers...
Hyper-V: “Version 3 kills them all”
Microsoft showed the latest version of Hyper-V at build conference together with Windows 8 and Windows Server 8. Microsoft showed a lot of...
Office 365 – How to connect with Powershell
In Office 365 you can do and automate a lot with Windows Powershell. Now this small post shows you...
How to create a Powershell v2 Module
If you need some functions a lot in different scripts you create maybe external function files. This is a good way to clean up your code....


