
Several months ago Microsoft announced that Windows 10 for the Raspberry Pi 2 will be free. In the last weeks I started working on some Internet of Things (IoT) projects, just to figure out how good the Microsoft story is and how simply I can connect devices for example to Microsoft Azure. First step in the scenario, I bought my self a Raspberry Pi 2 to start with and checked out the Windows IoT dev center for some more information. Now in this blog post I will describe how you can install Windows 10 IoT Core on your Raspberry Pi 2.
First make sure you have the following things ready:
- A device running the Windows 10 Insider Preview – must be a physical Windows machine (not a VM).
- Raspberry Pi 2.
- 5V micro USB power supply – with at least 1.0A current.
- 8GB micro SD card – class 10 or better.
- HDMI cable (if you want to use a display).
- Ethernet cable.
- Windows 10 IoT Core Insider Preview Image for Raspberry Pi 2” from Microsoft Connect
After you have download Windows 10 IoT Core for Raspberry Pi 2 copy it to a folder for me this was C:\WindowsIoT. Make sure you have the flash.ffu file in it.
Insert the SD card to your device and open PowerShell and checkout which disks the SD card is running the following PowerShell commands:
Get-Disk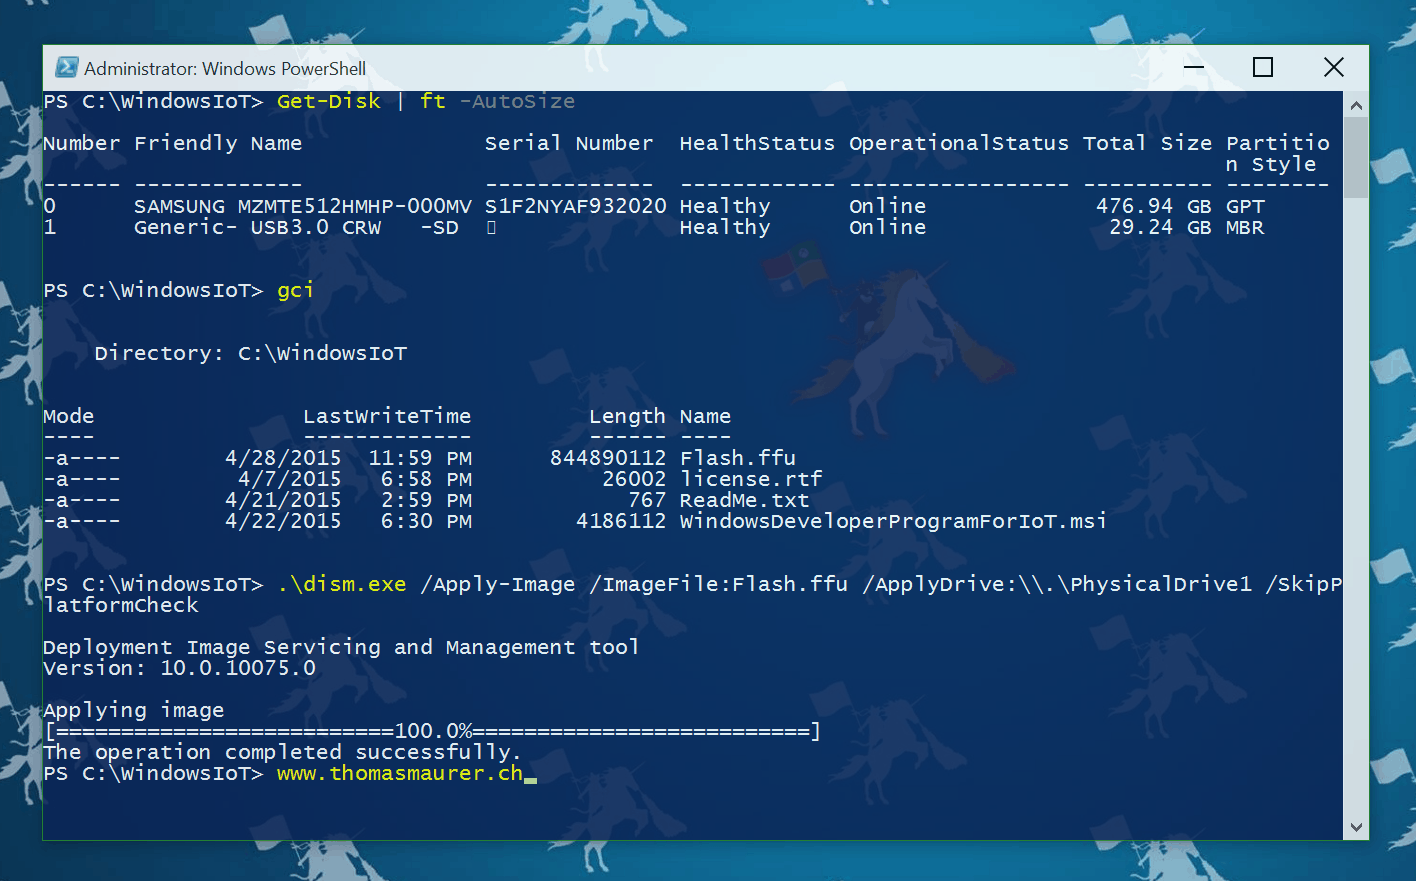
Now you can see which disk number is your SD card. This is important for the next command. First navigate to the folder where you have stored the flash.ffu file for me this was C:\WindowsIoT. Now you can run the following command to copy the image to your SD card, change \PhysicalDriveN to the Drive with the disk number in my case this would be \PhysicalDrive1:
dism.exe /Apply-Image /ImageFile:flash.ffu /ApplyDrive:\\.\PhysicalDriveN /SkipPlatformCheck
Now safely remove your SD card from your PC.
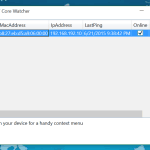
You can now insert the SD card to your Raspberry Pi 2 and connect the network cable, screen via HDMI and the USB power adapter to boot the device up. After you have connected the power supply your device will automatically boot up. On the very first boot Windows 10 IoT Core will do some first boot configurations and it will display a blue default application while this is happening. Wait for a few minutes and the board will automatically restart. This will happen only once and then DefaultApp should show up, displaying the IP address of the Raspberry Pi 2.

I will show you how you can connect to your Windows 10 IoT Core device using PowerShell in another post.
Tags: IoT, Microsoft, PowerShell, Raspberry Pi, Raspberry Pi 2, Windows, Windows 10, Windows 10 IoT, Windows 10 IoT Core, Windows 10 IoT Core on the Raspberry Pi, Windows IoT Last modified: September 2, 2018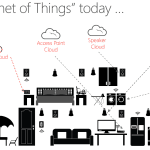


Hello Thomas,
it would be useful to see pratical applications of Windows 10 IoT for Server Managament.
:)
Hi Thomas
Install is just a beggining. A the moment there is no software so using this is only for pasionates :-(
I wait for simple Video Player with DLNA and something for Miracast.
And something wired – when you put RB2 to the TV then it will automatically change HDMI port to this connected to RB. Maybe we can control other parameters of TV.
It works on my Sony TV
Shame we need a real Windows 10 PC to kick start this. I steer clear of non virtual installs after Windows Longhorn beta trampled over an IBM laptop and made it literally scream.
So can someone share a Windows 10 SD card image now?
You do not need to run Windows 10 on the computer you flash the SD card from.
Just download the Win 10 ADK and select Deployment tools during install.
http://go.microsoft.com/fwlink/p/?LinkId=526740
This is a reply to Chris’s comment a few comments up. About your TV the auto input switching isn’t the raspberry pi its just a feature your TV has that when a new video input is recognized it automatically switches to that input assuming that is the device your using