Learn about Windows Server Hyper-V and Virtualization
As you know, my background is doing a lot of datacenter and virtualization projects using Hyper-V...
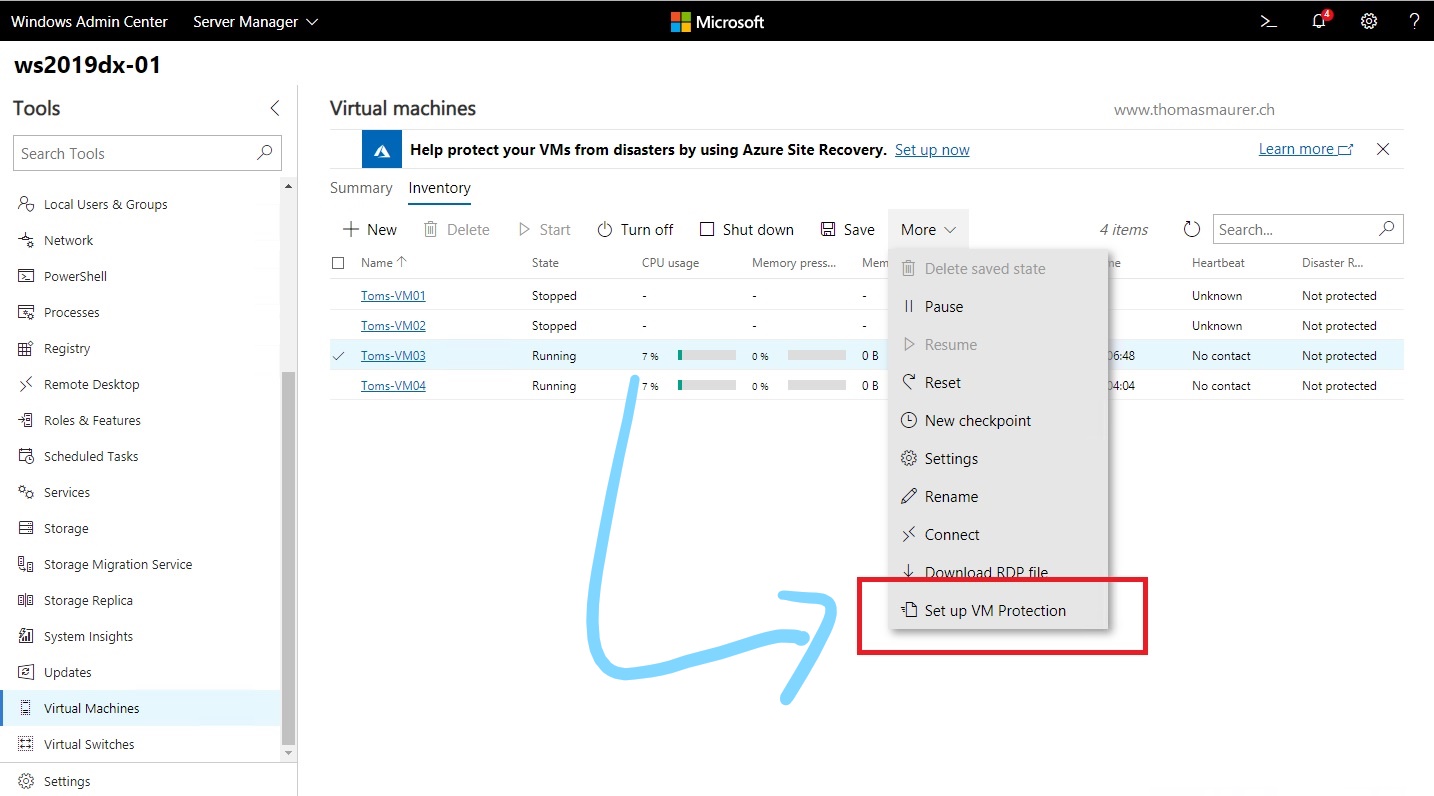
Configure Azure Site Recovery from Windows Admin Center
With the Hybrid Cloud effort, Microsoft invested heavy to make Windows Server and Hyper-V better connect to Microsoft Azure. One way of...
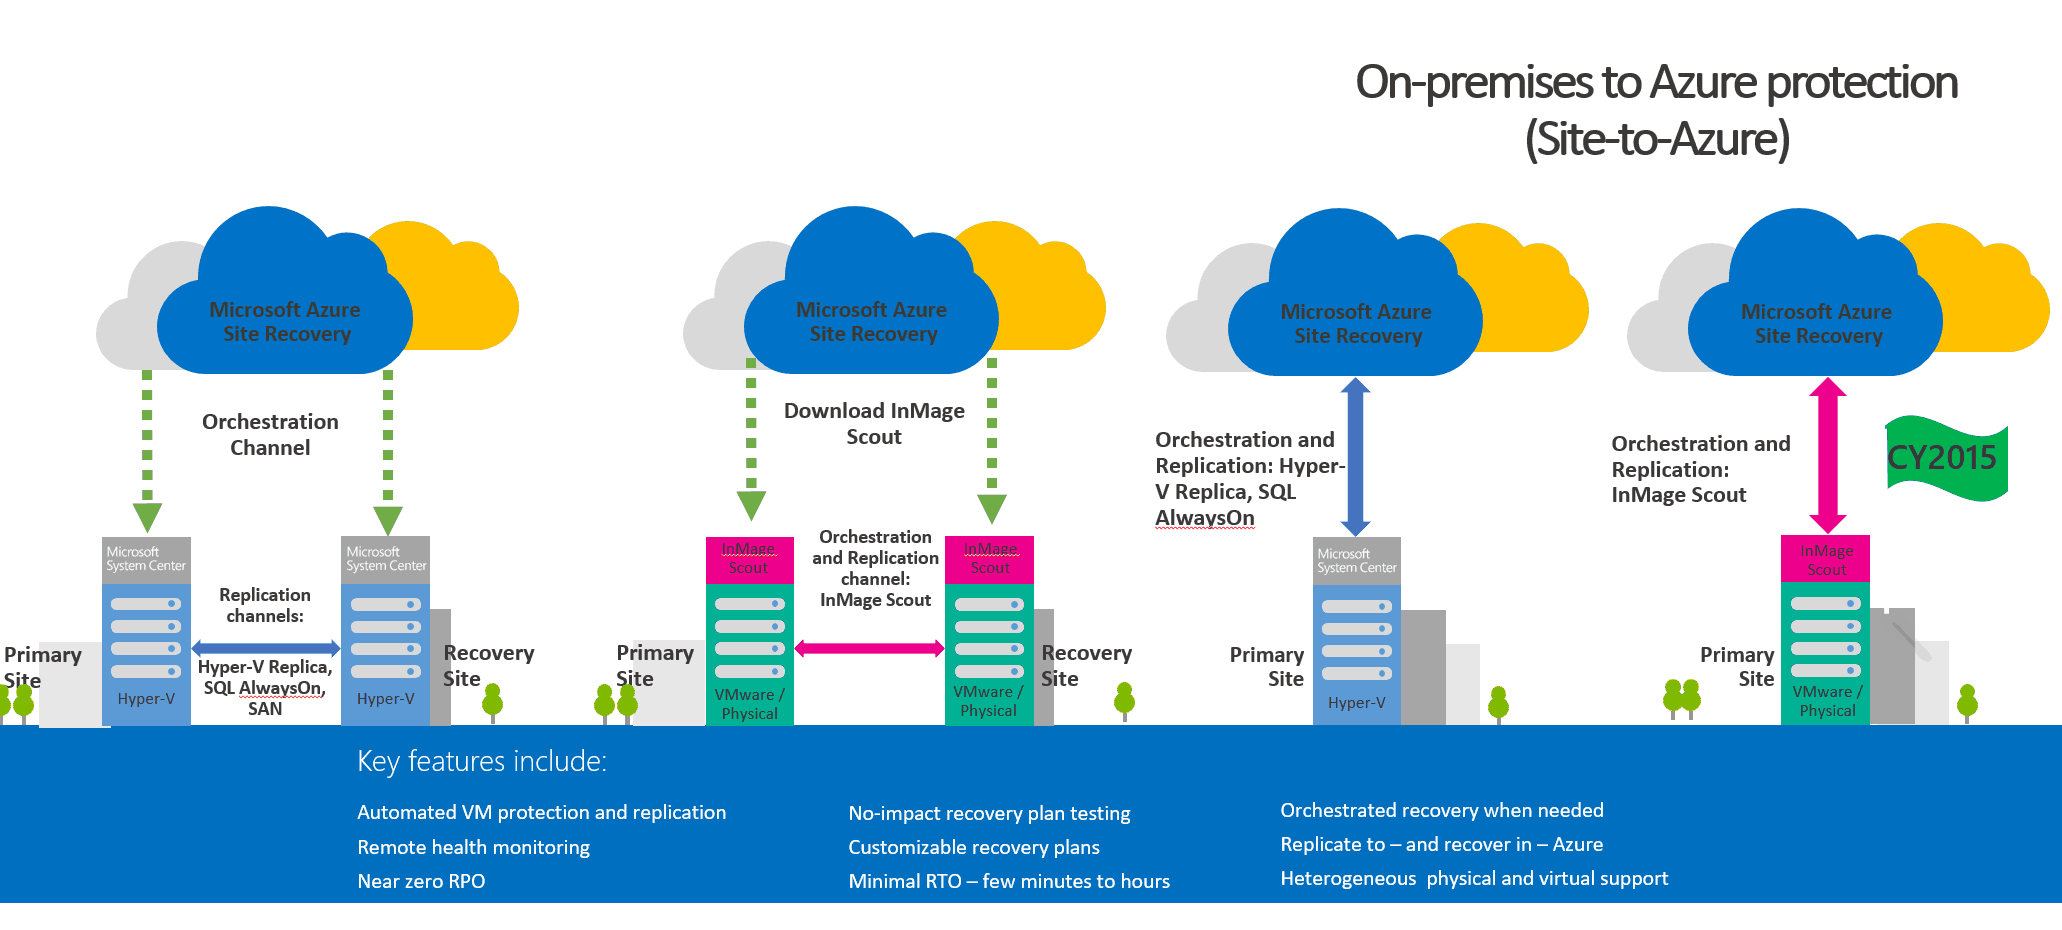
Disaster Recovery using Azure Site Recovery
Nearly a year ago Microsoft released a Disaster Recovery solution called Hyper-V Recovery Manager. This was basically a hosted...
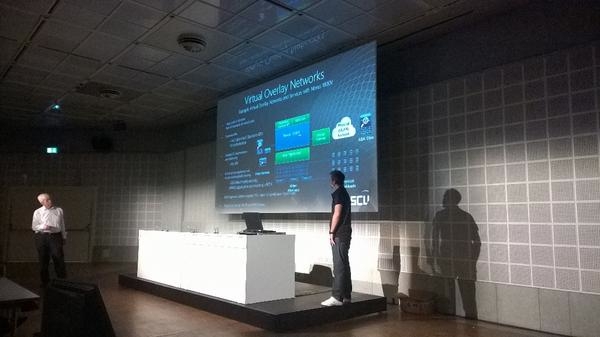
My sessions from System Center Universe Europe 2014 available on Channel9
As I already posted I was presenting at System Center Universe Europe 2014 (SCU Europe) in Basel...

Speaking at E2EVC 2014 Barcelona
This year I was already speaking at the E2E Virtualization Conference in Brussels. Together with Michael Rüefli I was talking about the...
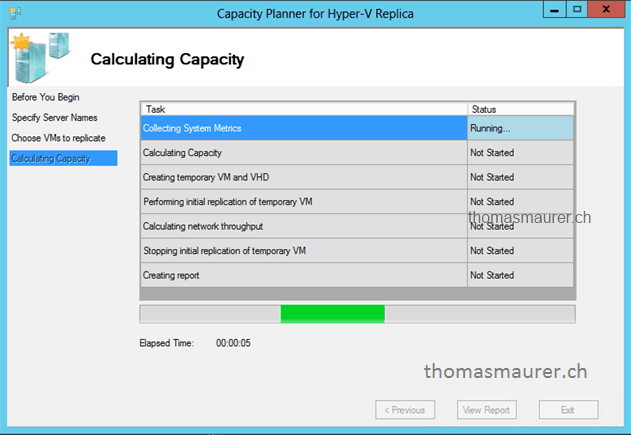
Capacity Planner for Hyper-V Replica updated
Back in 2013 Microsoft released a tool called Capacity Planner for Hyper-V Replica. Hyper-V Replica Capacity Planner allowed IT...
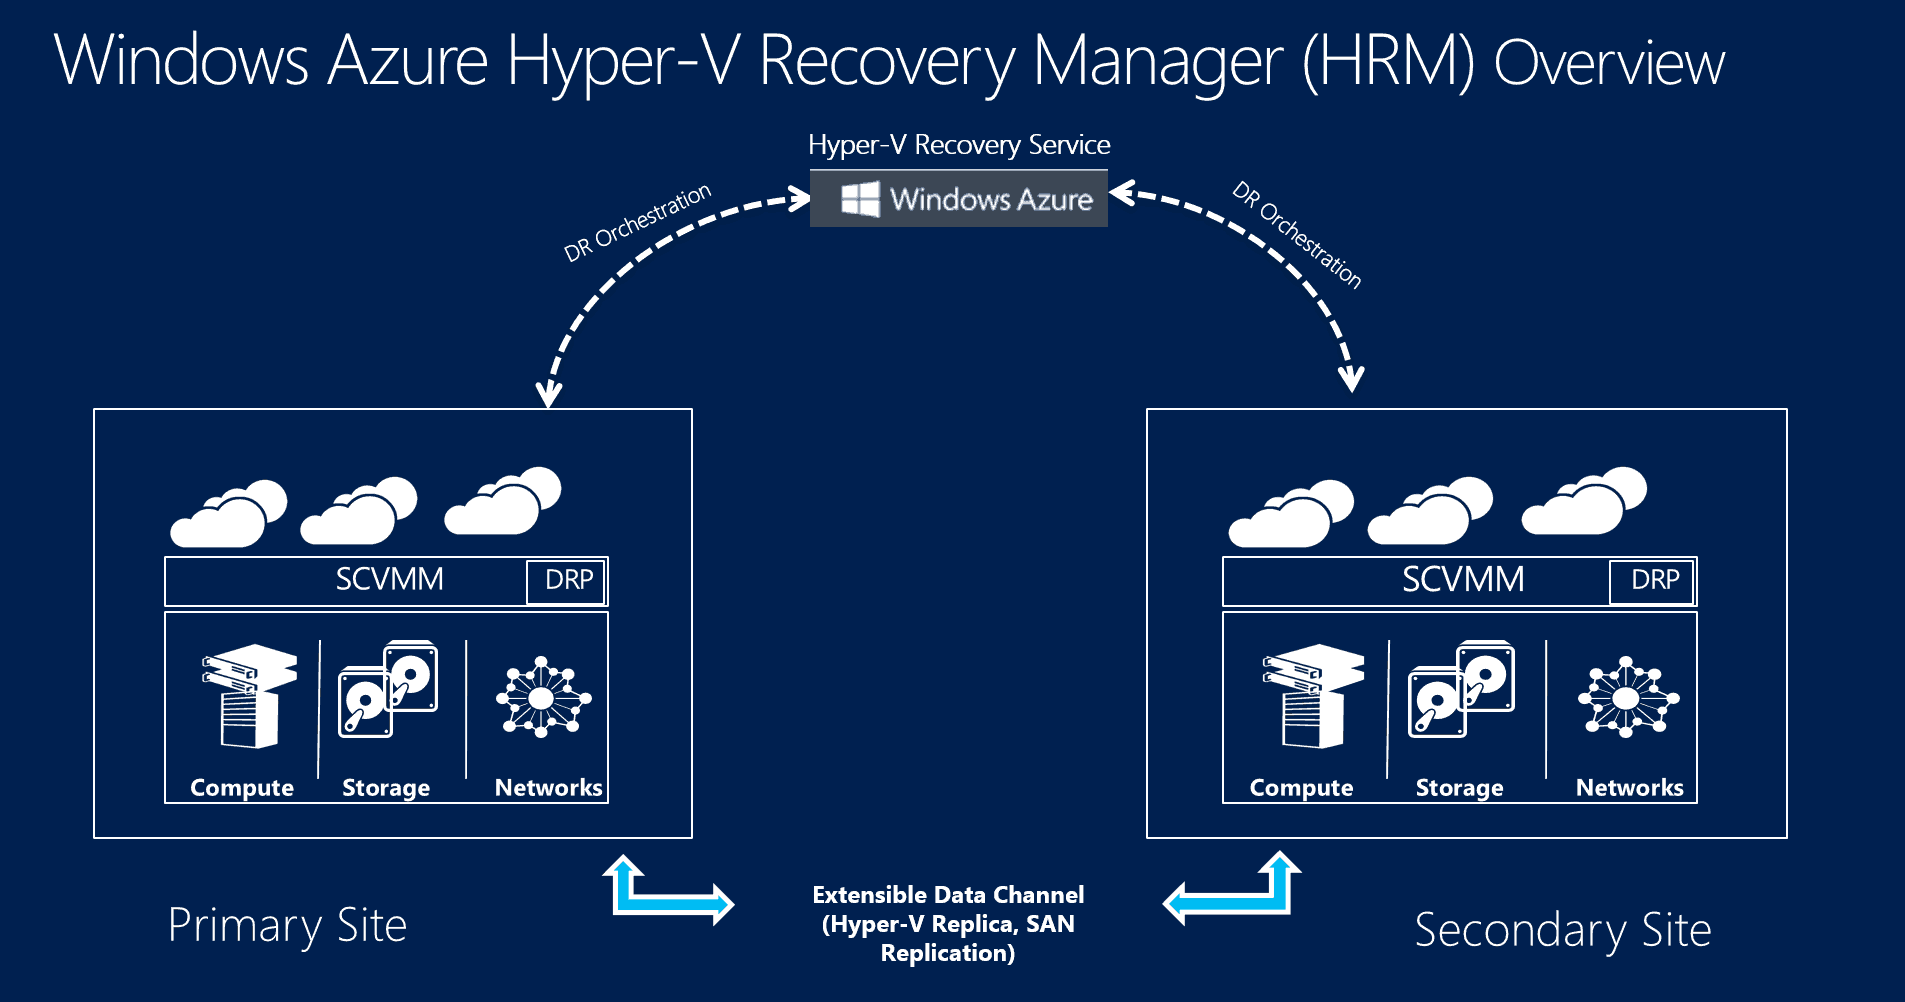
Hyper-V Recovery Manager (HRM) FAQ
With the evolution of cloud computing, datacenter are getting more important, and having multiple...
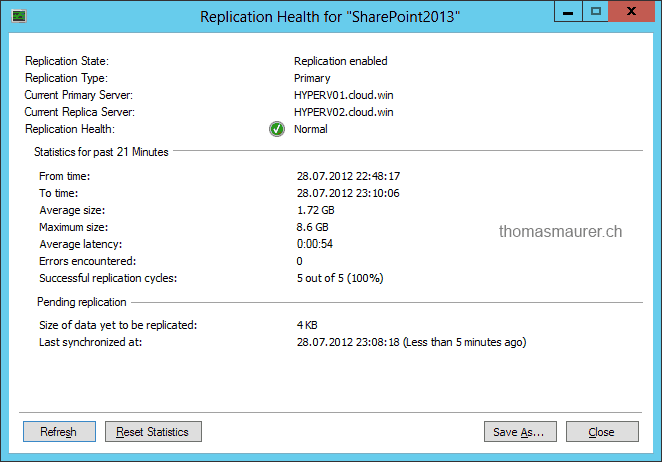
Throttling Hyper-V Replica Traffic
Well I already did a lot of blog posts on one of my favorite Hyper-V features called Hyper-V Replica. With Hyper-V Replica, which was...
Capacity Planner for Hyper-V Replica
Yesterday Microsoft published a new download which is called Capacity Planner for Hyper-V Replica. The Capacity Planner for Hyper-V Replica...
How to setup a Virtual Machine with Hyper-V Replica
In Windows Server 2012 Hyper-V Microsoft released a new feature called Hyper-V Replica. I...


