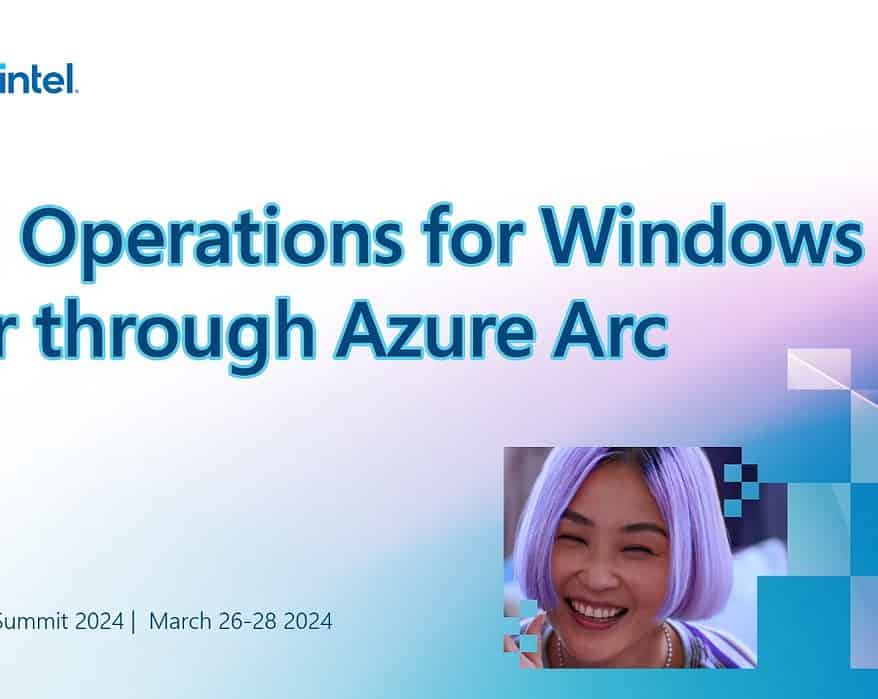
Cloud operations for Windows Server through Azure Arc
Running Windows Server on-premises or at the edge? Learn how you can leverage Azure management...
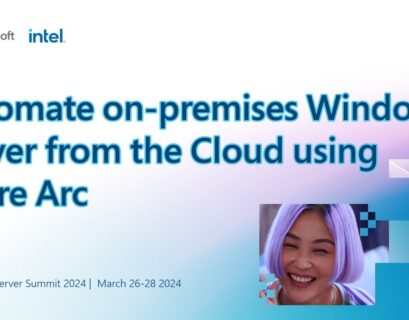
Automate on-premises Windows Server from the cloud using Azure Arc
Running Windows Server on-premises or at the edge? Learn how you can leverage Azure automation, PowerShell, Windows commands, and Azure...
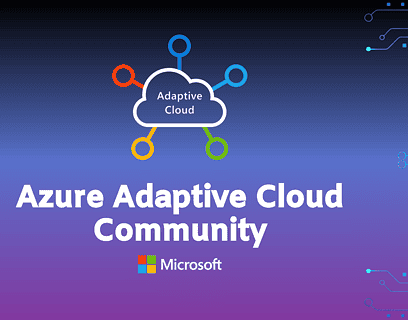
The Azure Adaptive Cloud Community
Exciting news for all cloud enthusiasts and professionals! The Azure Adaptive Cloud Community is making a grand comeback with its monthly...

Azure Stack HCI 23H2 – VMs and containers at the edge
At Microsoft Ignite 2023, Microsoft announced the latest version of Azure Stack HCI 23H2. In this...

Speaking at the Windows Server Summit 2024
Today I am proud to share that I will be speaking at the Microsoft Windows Server Summit 2024. The Windows Server Summit 2024 is an...
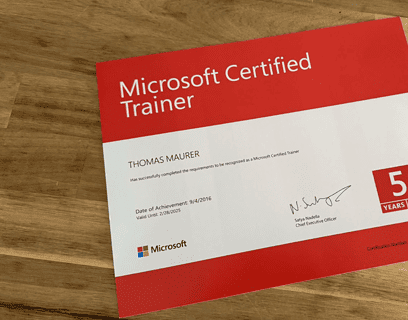
Microsoft Certified Trainer MCT 2024-2025
I just got confirmation that I am a Microsoft Certified Trainer MCT 2024-2025. After being a Microsoft Certified Trainer in 2017, 2019,...
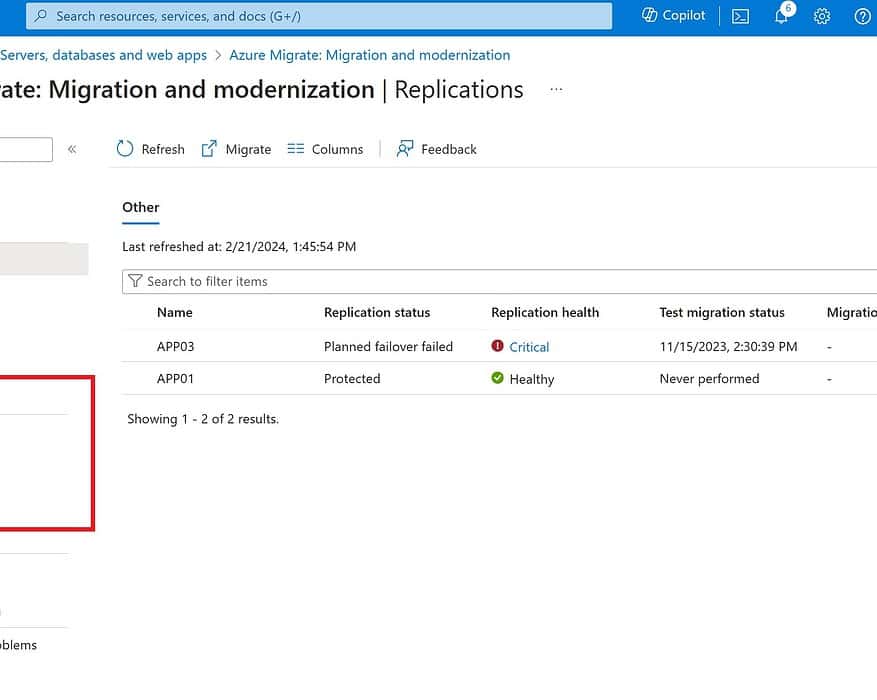
Migrate VMs to Azure Stack HCI
One question I get asked a lot is, how do I migrate Hyper-V or VMware VMs (virtual machines) to...
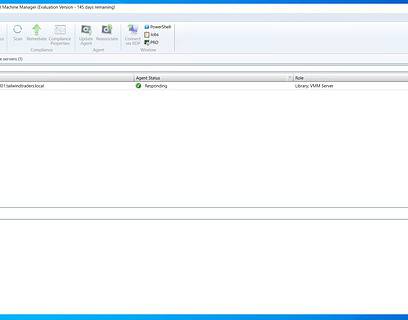
SCVMM management for Azure Stack HCI 23H2
The System Center team just shared some information on System Center Virtual Machine Manager (SCVMM) supporting the latest Azure Stack HCI,...

Joining Azure Adaptive Cloud Experiences (ACX) Evaluation and Community Enablement
I am excited to announce that I have joined the The Adaptive Cloud Experiences (ACX) Evaluation and Community Enablement team as a Senior...
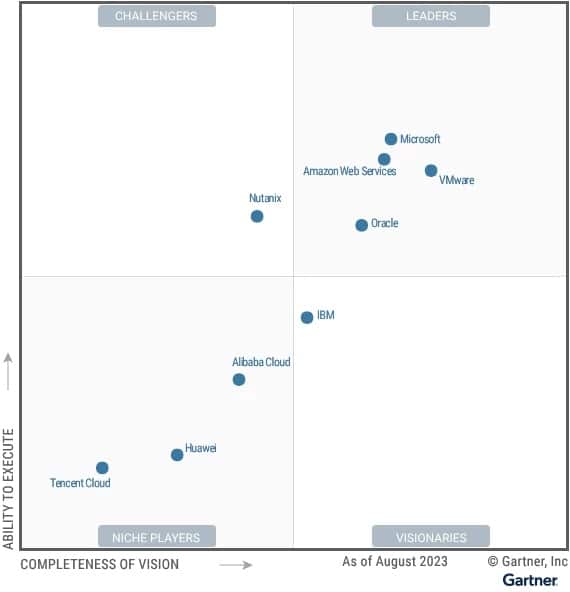
Microsoft is a Leader in the Gartner Magic Quadrant for Distributed Hybrid Infrastructure with Azure Stack HCI
End of 2023, Microsoft has been recognized as a Leader in the 2023 Gartner Magic Quadrant for...


