I started with a blog about Locks in Azure, which is one of the basic Azure Governance features provided by Azure Resource Manager. In this second blog, I want to give you a quick overview of how you can use tags to organize your Azure resources. As mentioned before governance in Azure provides you with the necessary tools to take advantage of the speed and agility the cloud promises, without losing control over your environment.

Cloud-Native Governance
When you start working with Azure, you realize that you will have suddenly many resources. If you work for a company or team, you will realize that at one point it will be difficult to identify resources, find out who they belong to, or are they still needed, and are the production or development, who is paying for it, and many more questions are coming up.
With Tags in Azure, you can start tagging your Azure resources to logically organize them into a taxonomy. A tag consists of a name and a value pair. For example, you can apply the name “Environment” or “Department and the value “Production” or “Finance” to resources.
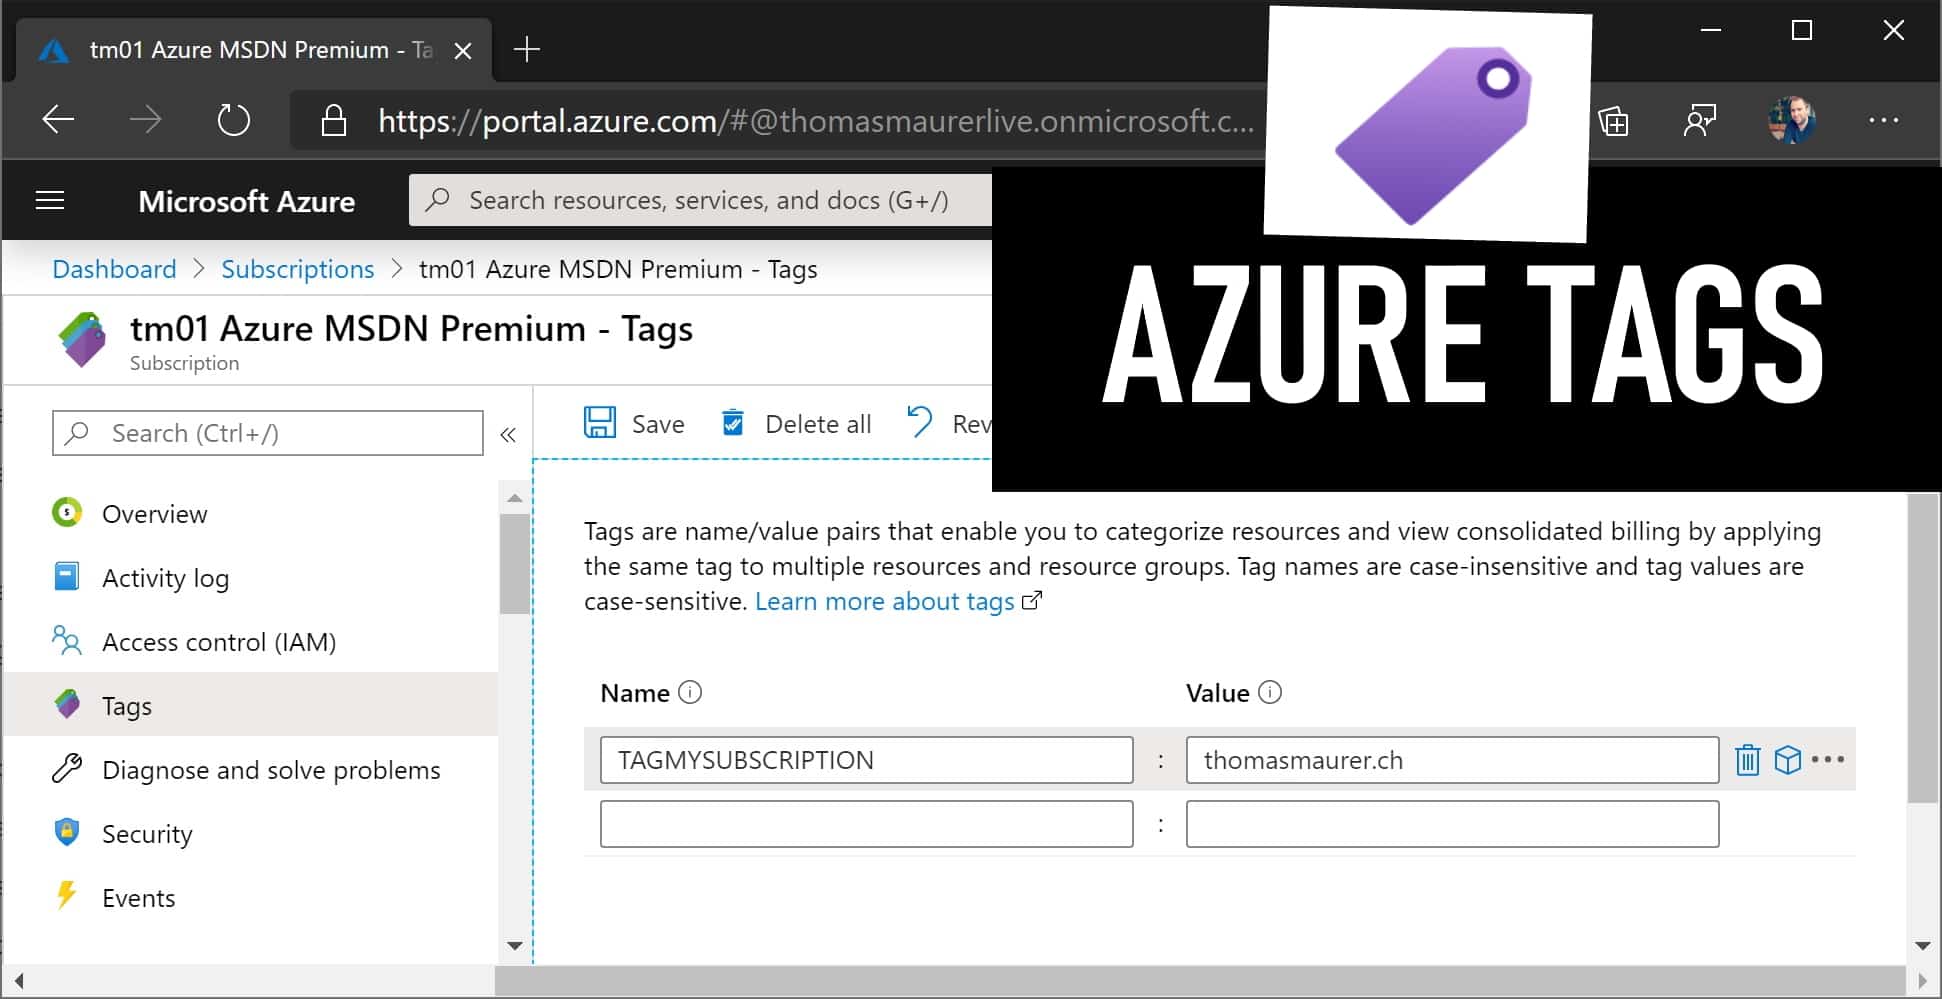
Tags are name/value pairs that enable you to categorize resources and view consolidated billing by applying the same tag to multiple resources and resource groups. Tag names are case-insensitive and tag values are case-sensitive.
You can apply tags to:
- Azure Resource
- Resource Groups
- Subscriptions (New)
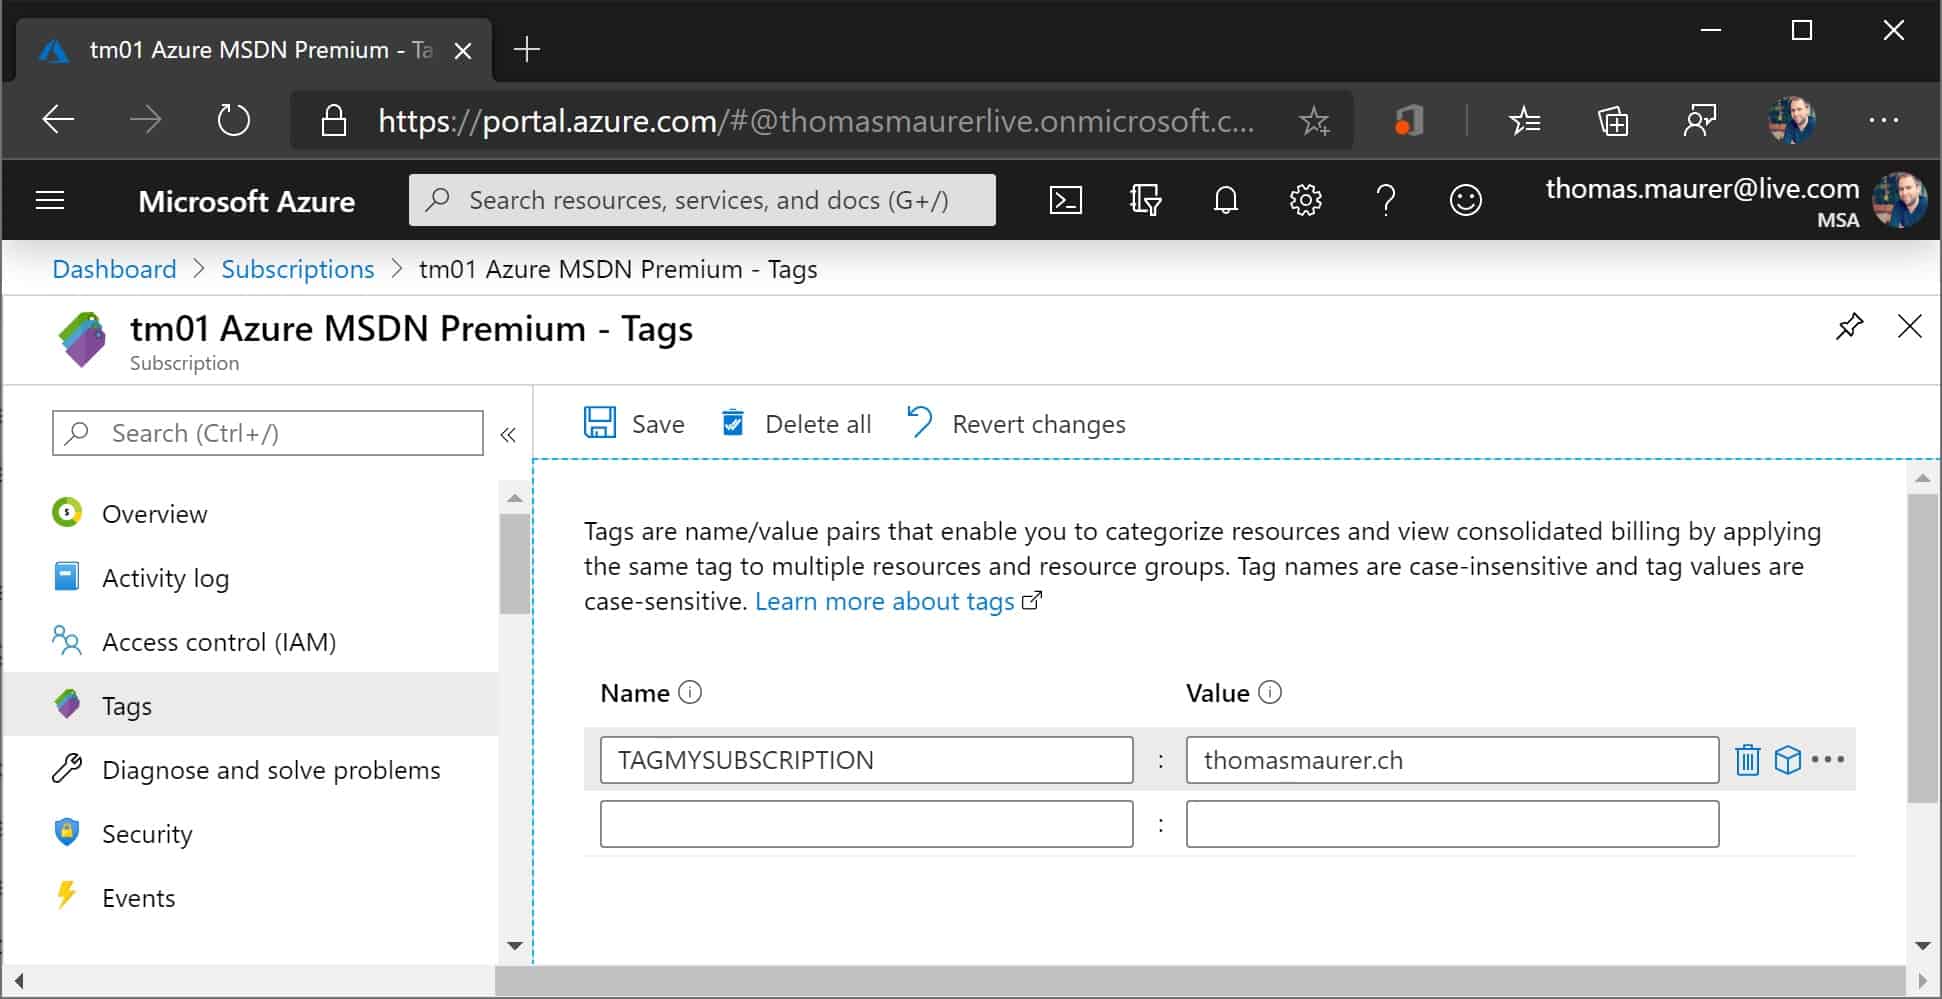
Tags to Azure Subscription
Adding tags to your resource will help you when you need to organize resources for billing or management. Also, Azure Management tools like Update Management can make use of tags. For example, you can create dynamic groups of your virtual machines for different update schedules using tags.

Cost Management with Azure Tags
Use Azure Policy to manage Tags
You can also use Azure Policy to apply tags to resources or block resources from being created if they do not have the necessary tags.
You can use Azure Policy to enforce tagging rules and conventions. By creating a policy, you avoid the scenario of resources being deployed to your subscription that don’t comply with the expected tags for your organization. Instead of manually applying tags or searching for resources that aren’t compliant, you can create a policy that automatically applies the needed tags during deployment. Tags can also now be applied to existing resources with the new Modify effect and a remediation task.
Limitations for Azure Tags
Tags come with certain limitations:
- Not all resource types support tags. To determine if you can apply a tag to a resource type, see Tag support for Azure resources.
- Each resource or resource group can have a maximum of 50 tag name/value pairs. If you need to apply more tags than the maximum allowed number, use a JSON string for the tag value. The JSON string can contain many values that are applied to a single tag name. A resource group can contain many resources that each have 50 tag name/value pairs.
- The tag name is limited to 512 characters, and the tag value is limited to 256 characters. For storage accounts, the tag name is limited to 128 characters, and the tag value is limited to 256 characters.
- Generalized VMs don’t support tags.
- Tags applied to the resource group are not inherited by the resources in that resource group.
- Tags can’t be applied to classic resources such as Cloud Services.
- Tag names can’t contain these characters:
<,>,%,&,\,?,/
You can find more information about limitations for tags, you can find them on Microsoft Docs.
Assign Tags
As mentioned before, you can use Azure Policy to manage tags on your resources, but you can also assign tags using the Azure Portal, Azure Resource Manager (ARM) templates, Azure PowerShell or the Azure CLI. Here are some short examples:
Azure PowerShell
Add tags to a resource group without existing tags:
Set-AzResourceGroup -Name myrg -Tag @{ "Department"="Finance"; "Environment"="Test" }
Add tags to a resource group that has existing tags, retrieve the existing tags, add the new tag, and reapply the tags:
$tags = (Get-AzResourceGroup -Name myrg).Tags
$tags.Add("Status", "Approved")
Set-AzResourceGroup -Tag $tags -Name myrg
Azure CLI
Overwrite the existing tags on a resource group:
az group update -n myrg --tags 'Environment=Test' 'Department=IT'
If you want to have more examples, check out the Microsoft Docs.
I hope this gives you a good overview of Azure Tags, and how they can be useful. If you want to learn more, check out the Microsoft Docs.
Tags: Azure, Azure Tags, Cost Management, Governance, Microsoft, Organize, Resource Group, Resources, Subscription, Subscriptions, Tag, Tags Last modified: March 15, 2020


Hello sir,
We are assigning tags to Azure resources. Some of the tags are assigned using Azure policy, and some of the tags are assigned manually.
We have assigned tags to resources by using the Azure policy effect “append”.
Now we want to assign the same tags with the Policy effect “modify”.
Can you please suggest to me the best process for how to **re-create** tags using IaC Terraform? or **How to re-create** tags using policy? I need suggestions on this tagging **process**. What’s the best approach to do it and how to do it?
How Re-create Azure tags in existing azure environment? what is the best approach to re-create Azure tags in azure environment? how to re-create tags without any issues?
Example tags: ApplicationName, Owner, CostCenter,