Learning Microsoft Azure Book – O’Reilly Media
I am thrilled to share with you a new book that I had the privilege of contributing to: Learning...
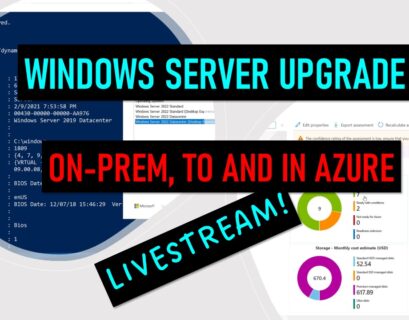
Live Session: Windows Server upgrade and migration, on-prem, to and in Azure!
Are you ready to learn how to upgrade and migrate your Windows Server workloads to the cloud? Join us for a live session (Wednesday...
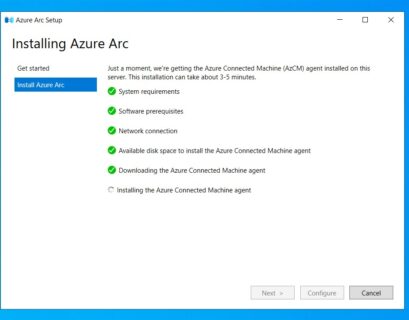
Azure Arc Setup on Windows Server
With Windows Server 2022 and later you now get the Azure Arc Setup integrated on your Windows Server. This allows you to onboard your...
Azure Hybrid, Edge, Adaptive Cloud News from Microsoft Ignite
Today I’m going to share with you some of the exciting Azure hybrid, multicloud, and edge...
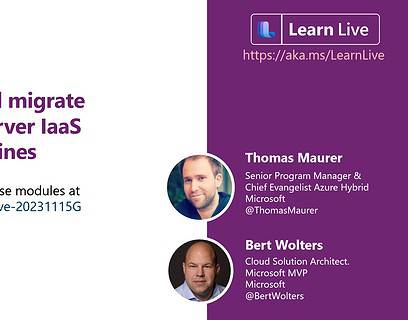
Upgrade and migrate Windows Server IaaS virtual machines at Microsoft Ignite
Today at Microsoft Ignite 2023, I will be presenting Upgrade and migrate Windows Server IaaS virtual machines on an interactive Learn Live...
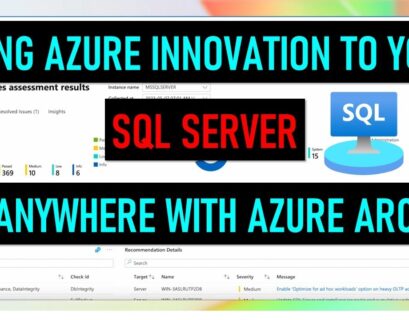
Bring Azure innovation to your SQL Server anywhere with Azure Arc
Bring Azure innovation to your SQL Server anywhere with Azure Arc. In this video I had the chance to speak to Dhananjay Mahajan Principal...
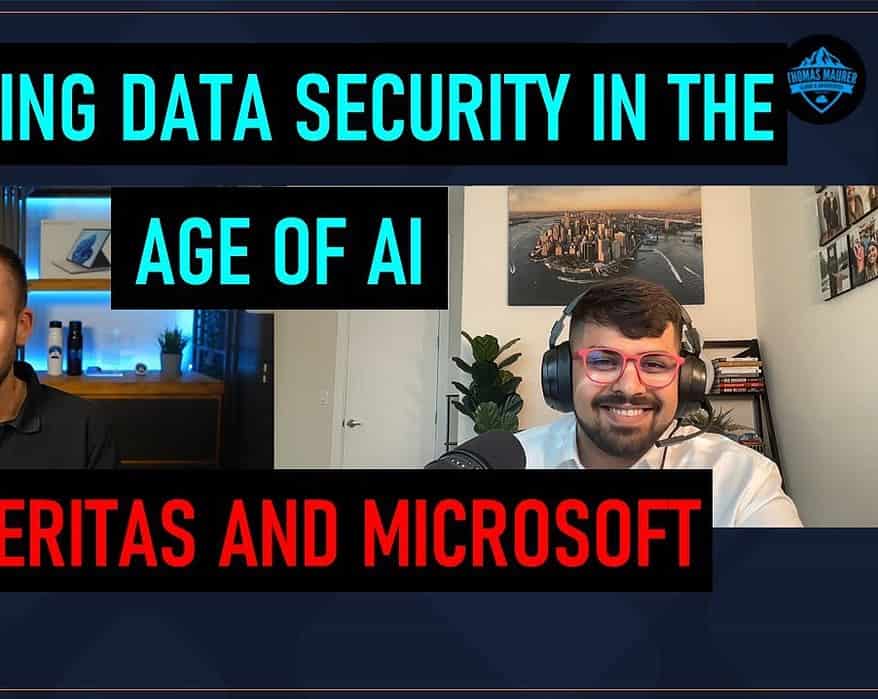
Unpacking Data Security in the Age of AI with Veritas and Microsoft
I had the amazing opportunity to chat with Varun Grover, who is an AI expert at Veritas, leader in...
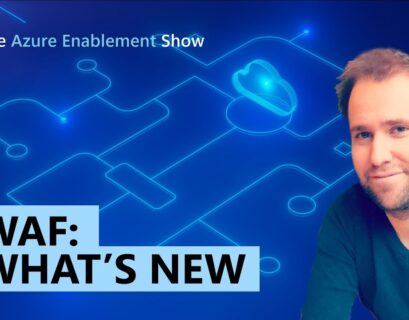
What’s new in the Azure Well-Architected Framework
Today, Uli Homann announced a big refresh of the Azure Well-Architected Framework for designing and running optimized workloads on...
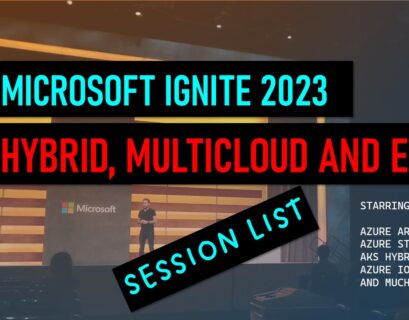
Microsoft Ignite 2023 – Hybrid, multicloud, and Edge sessions
Microsoft Ignite 2023 will be held from November 15 to November 17 with some great sessions around Azure Hybrid, multicloud, and edge. Here...

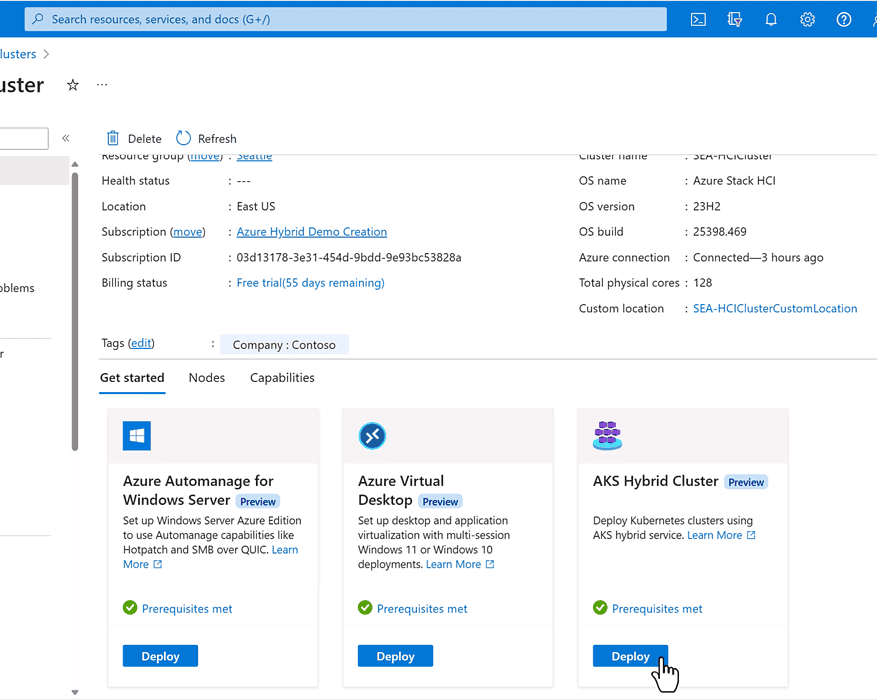
Premier Solutions for Azure Stack HCI
Microsoft just announced the launch of Premier Solutions for Azure Stack HCI which further...


