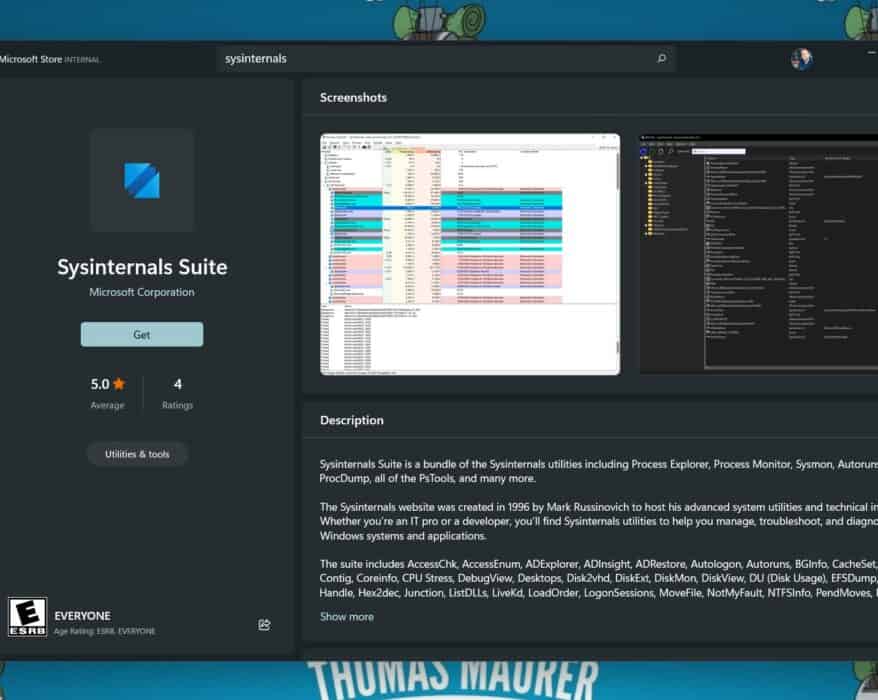
Install Sysinternals from the Microsoft Store
Yesterday at Sysinternals@25 special event for the birthday of the Sysinternals Suite, Mark...
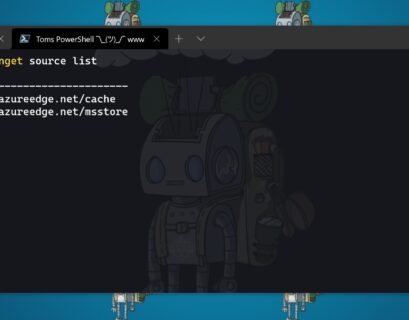
Install Azure Tools using WinGet
Sometimes you need to set up a fresh developer or admin workstation with all the latest Azure tools available. I created a quick list of...
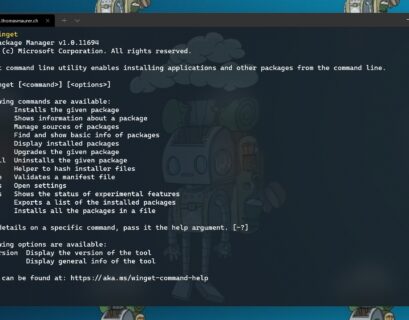
Getting started with Windows Package Manager WinGet
In this blog post I want to quickly share how you can get started with the new Windows Package Manager and the WinGet CLI. At the Microsoft...
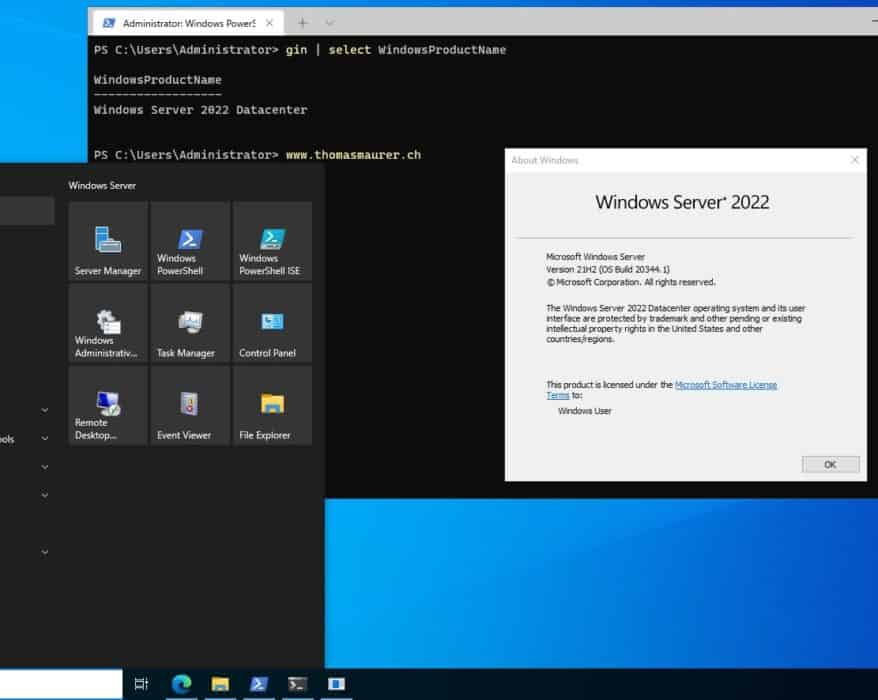
Install Windows Terminal on Windows Server 2022
As you might know, I am a huge fan of the Windows Terminal, and since Windows Server 2022 by...
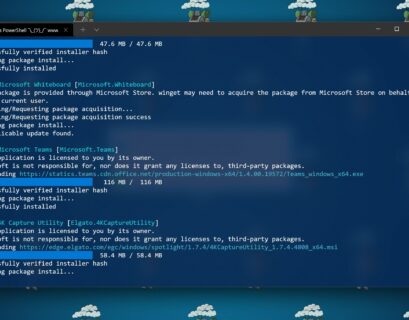
Install Apps from the Microsoft Store using WinGet
Back at Build 2020, Microsoft showed a new package manager for Windows called WinGet (Currently in Public Preview)....

How to install and set up an Azure Stack HCI Host
A couple of months the Azure Stack HCI team announced a new version called Azure Stack HCI version 20H2, which is currently in public...
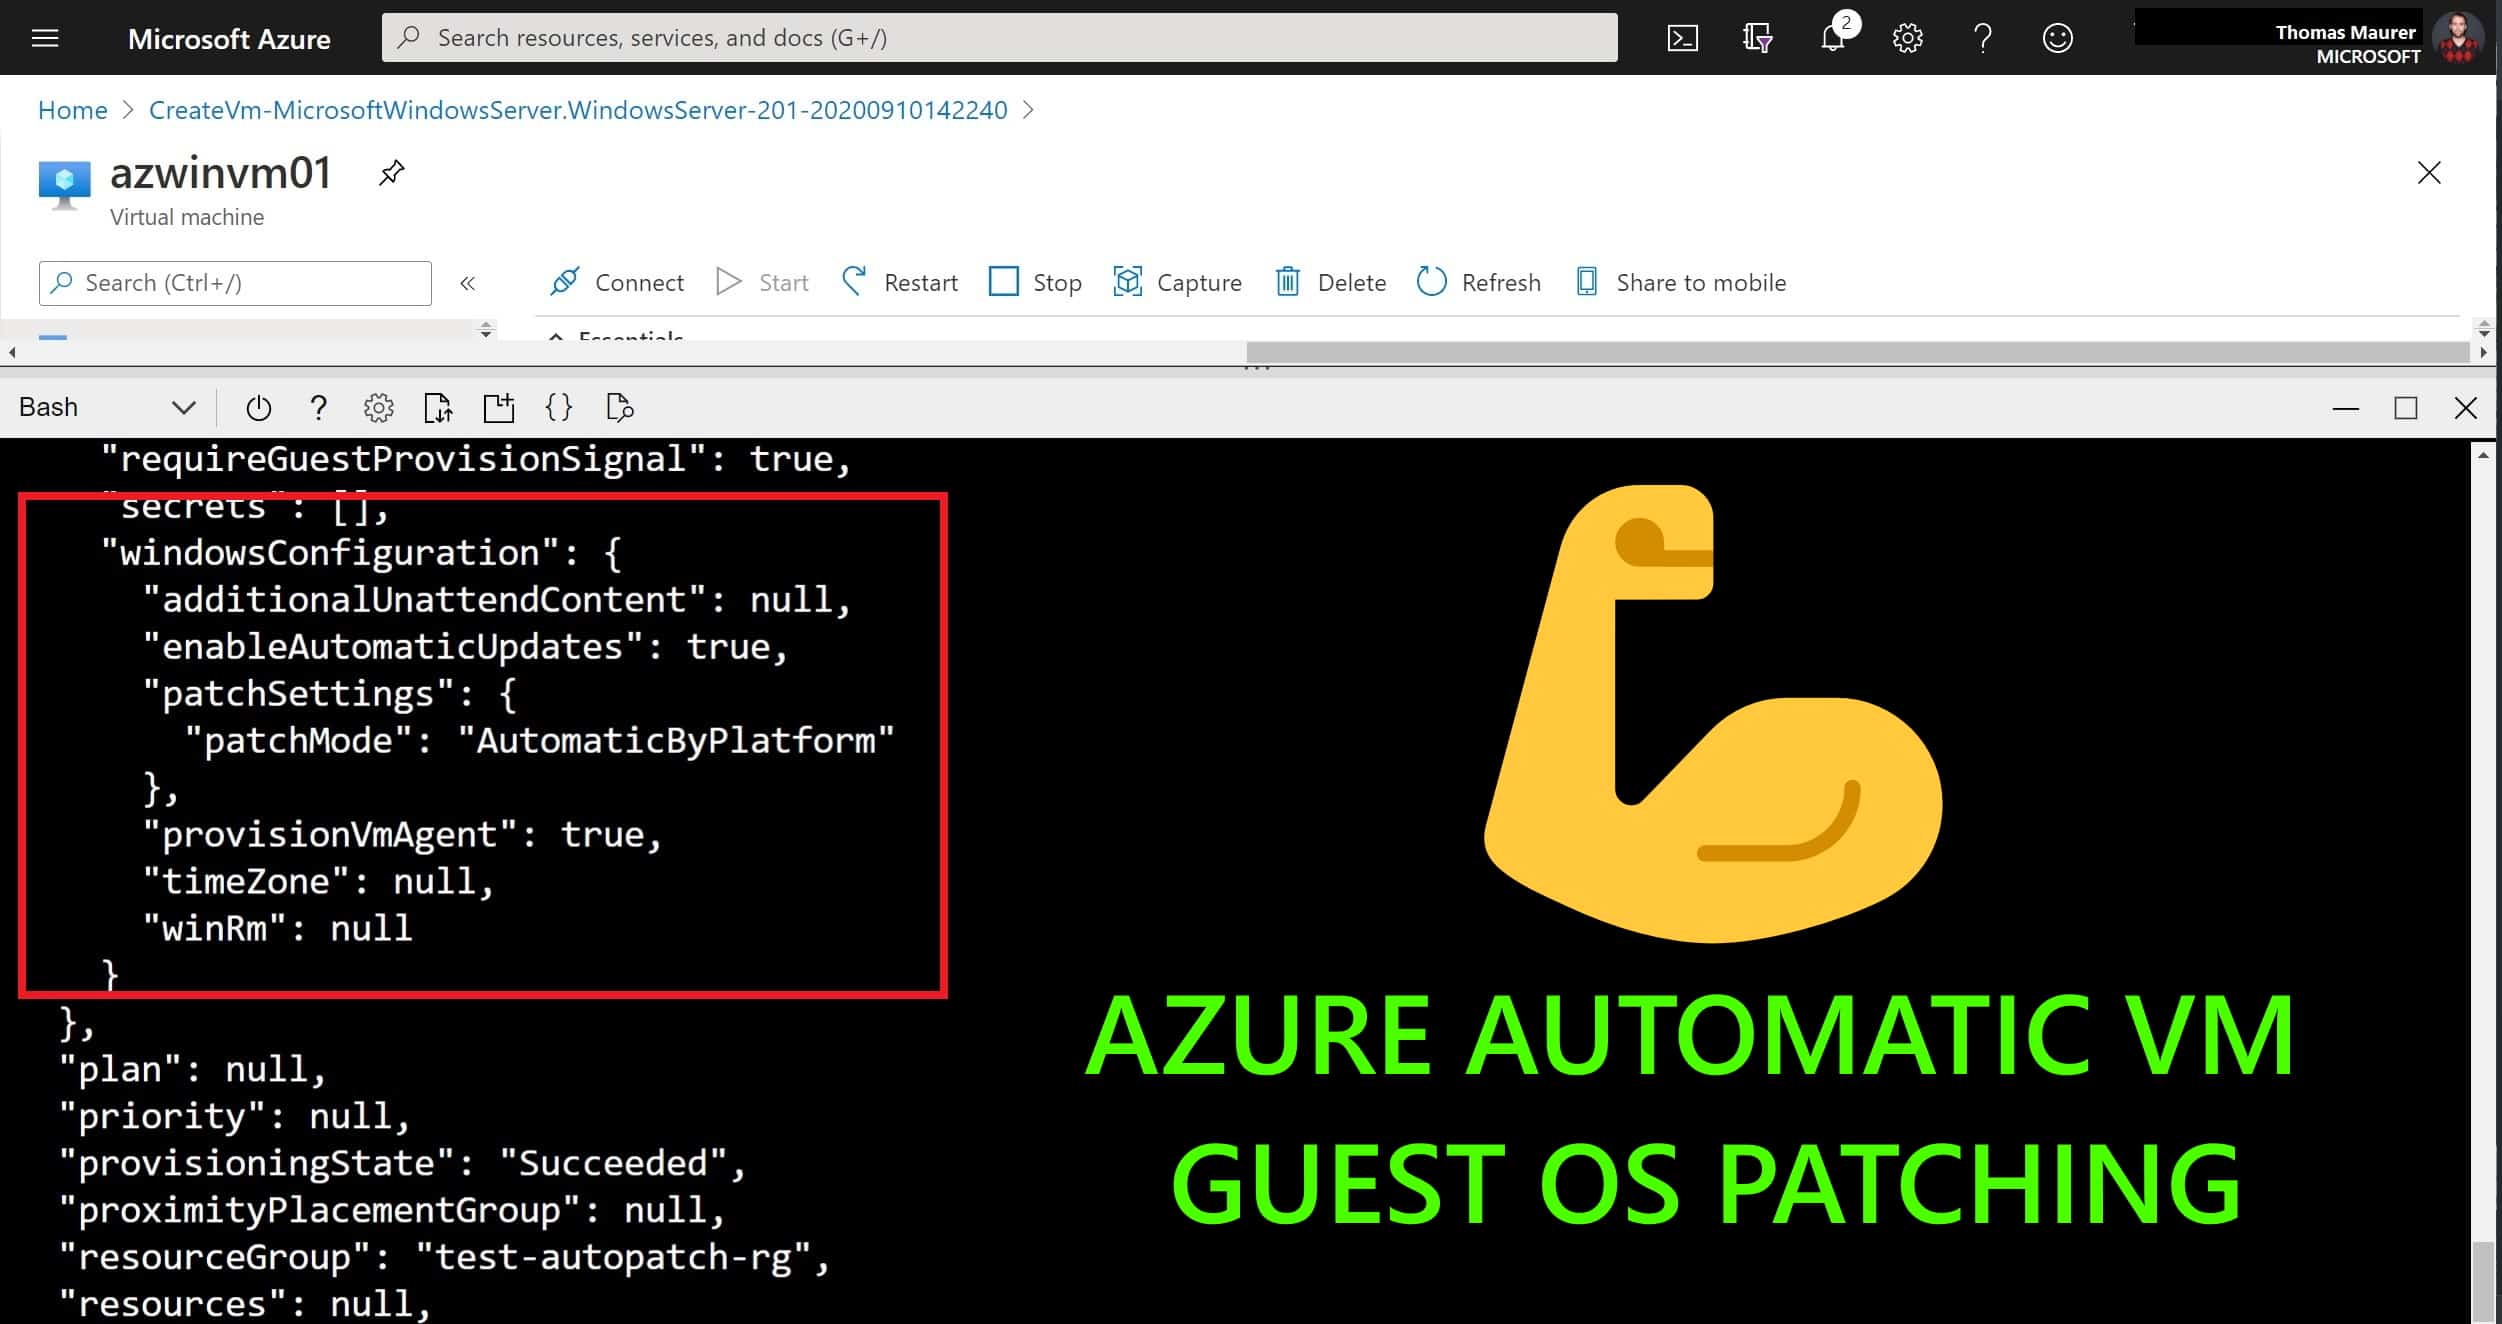
How to configure Azure Automatic VM guest OS patching
If you want to keep your Azure virtual machines (VMs) up-to-date, then there is a service called...
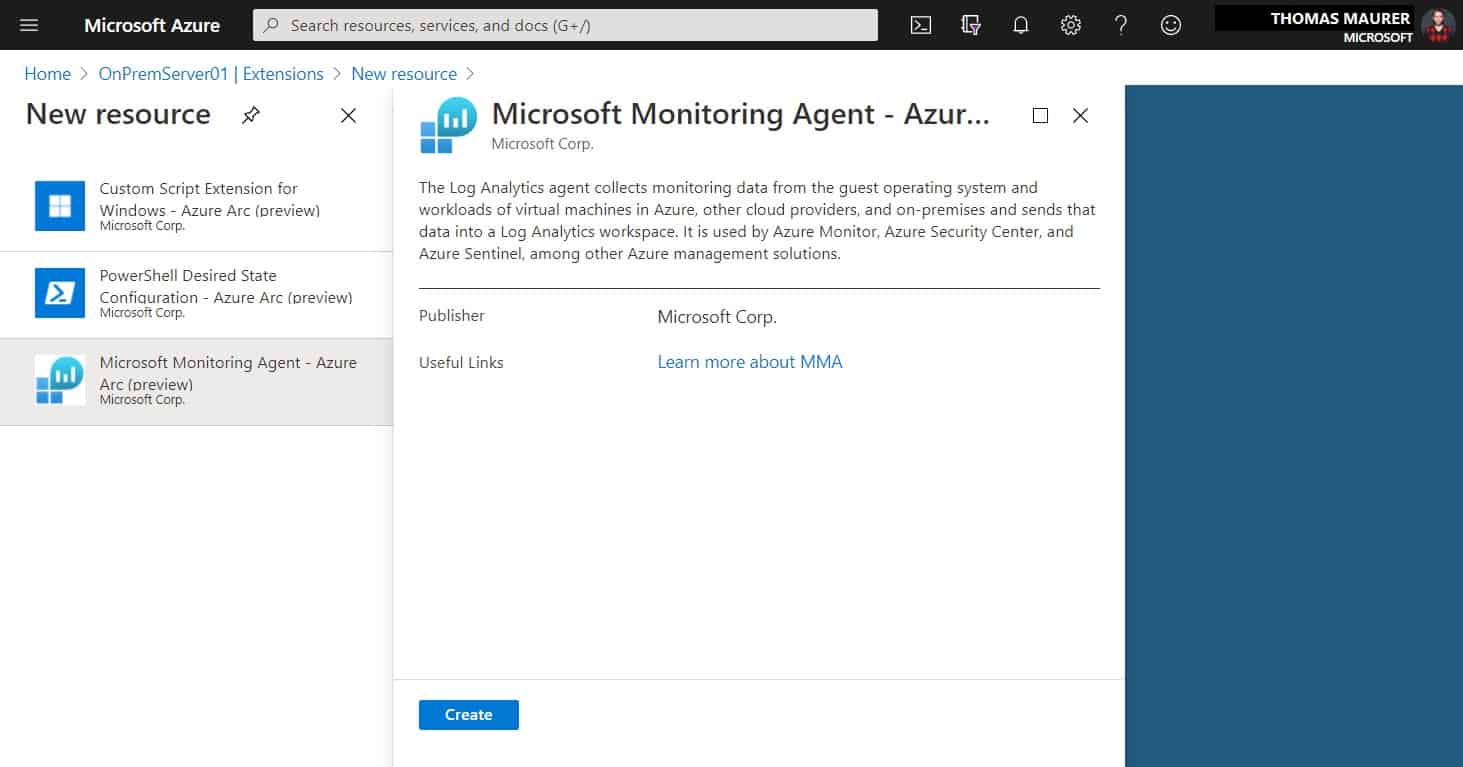
How to Add the Microsoft Monitoring Agent to Azure Arc Servers
To use some of the functionality with Azure Arc enabled servers, like Azure Update Management, Inventory, Change Tracking, Logs, and more,...

How to Install PowerShell 7 on Windows 10 on ARM
As you know I am running Surface Pro X as my daily driver, which comes with Windows 10 on ARM. With the release of PowerShell 7.0.2, I want...
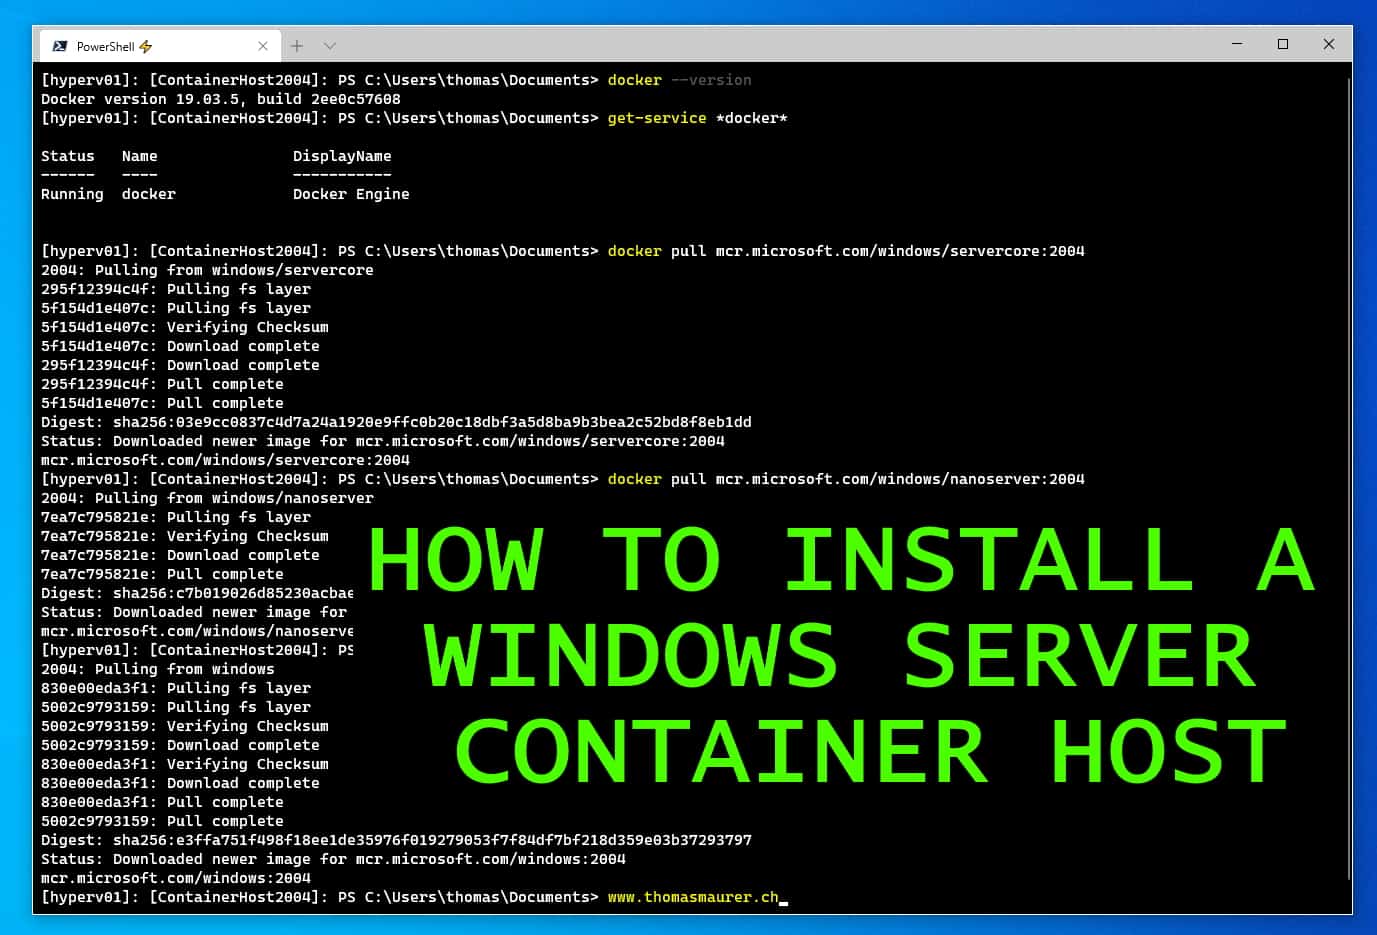
How to Install a Windows Server Container Host
In this blog post, I want to quickly guide you through how you can install a Windows Server...


