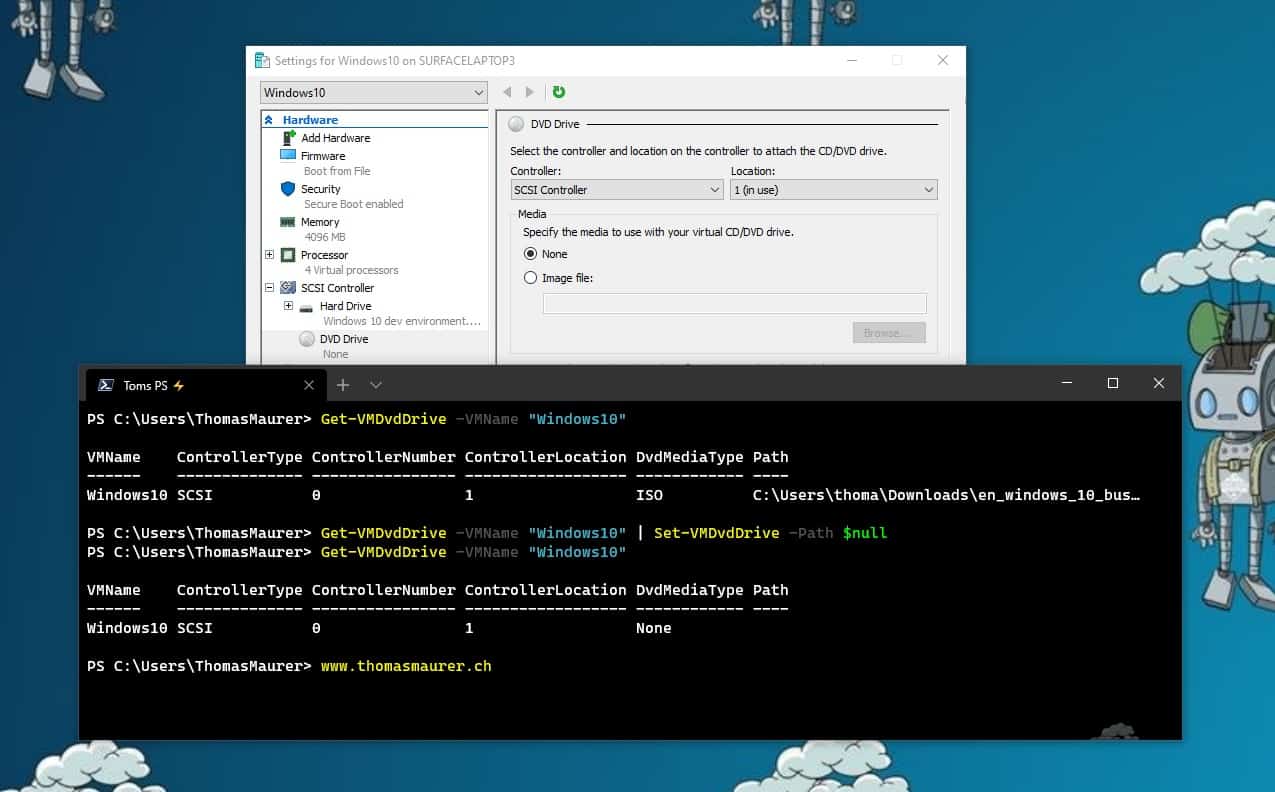
Eject ISO from Hyper-V VM using PowerShell
This is one of these quick and dirty blog posts mostly as a note for myself. Hyper-V offers the...
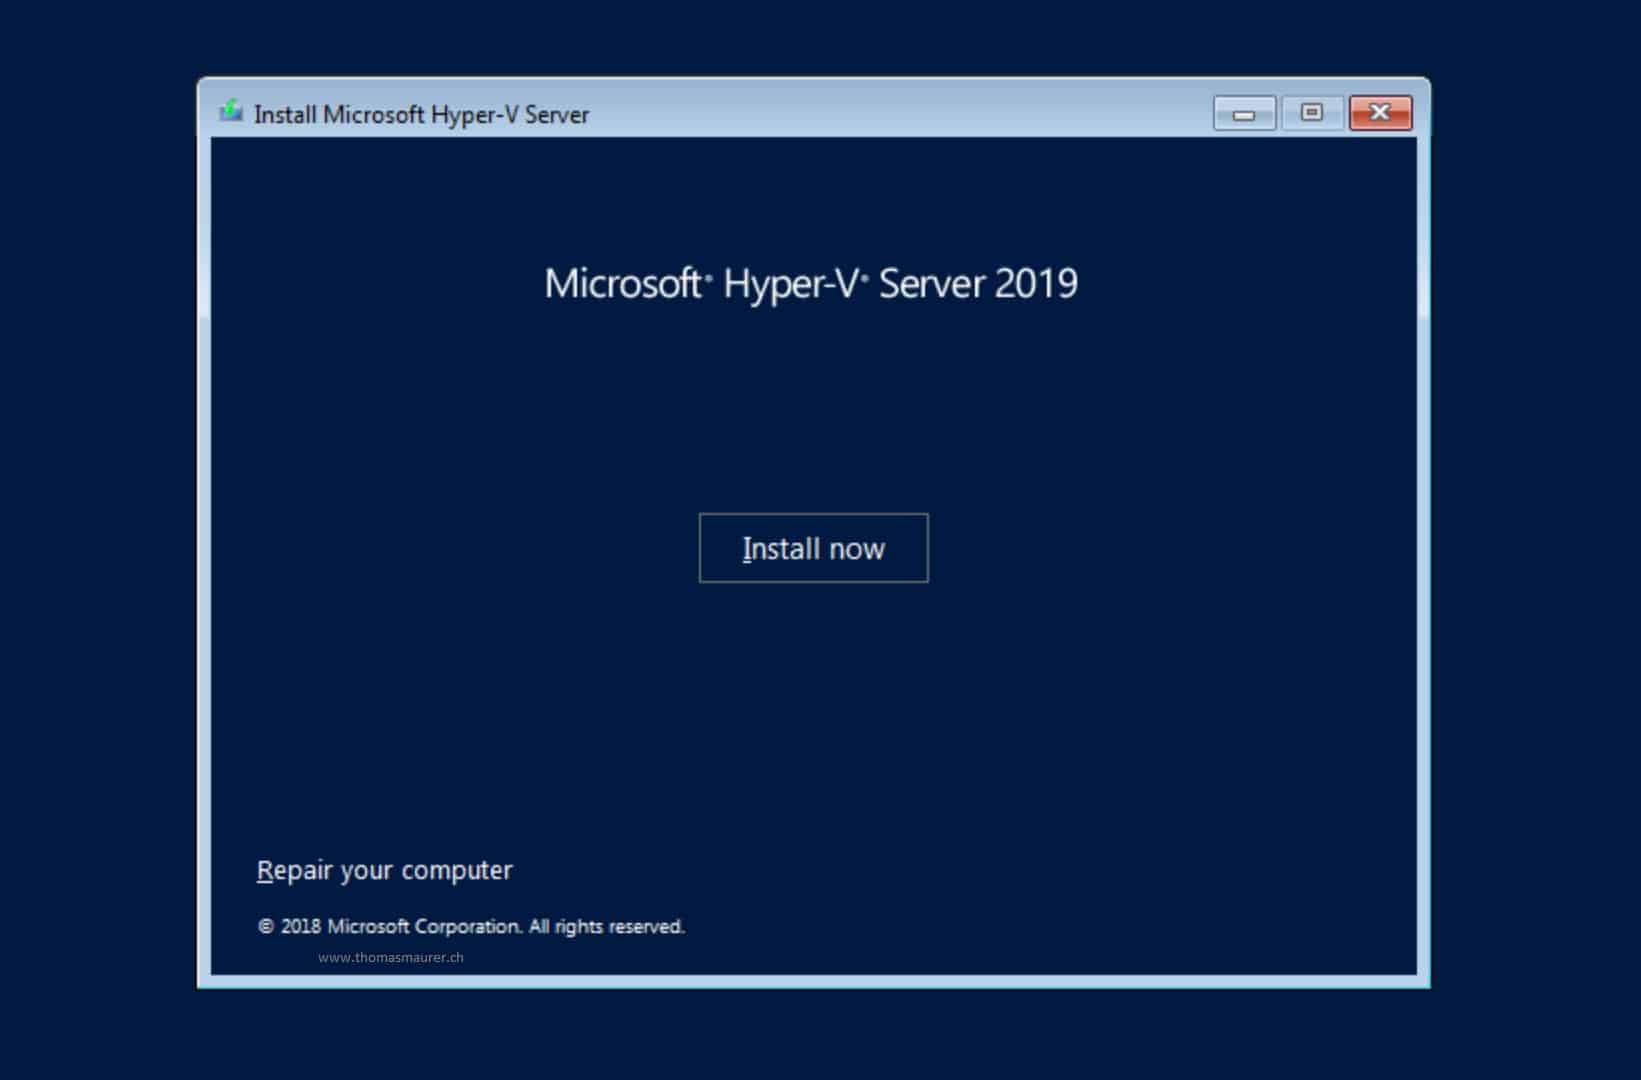
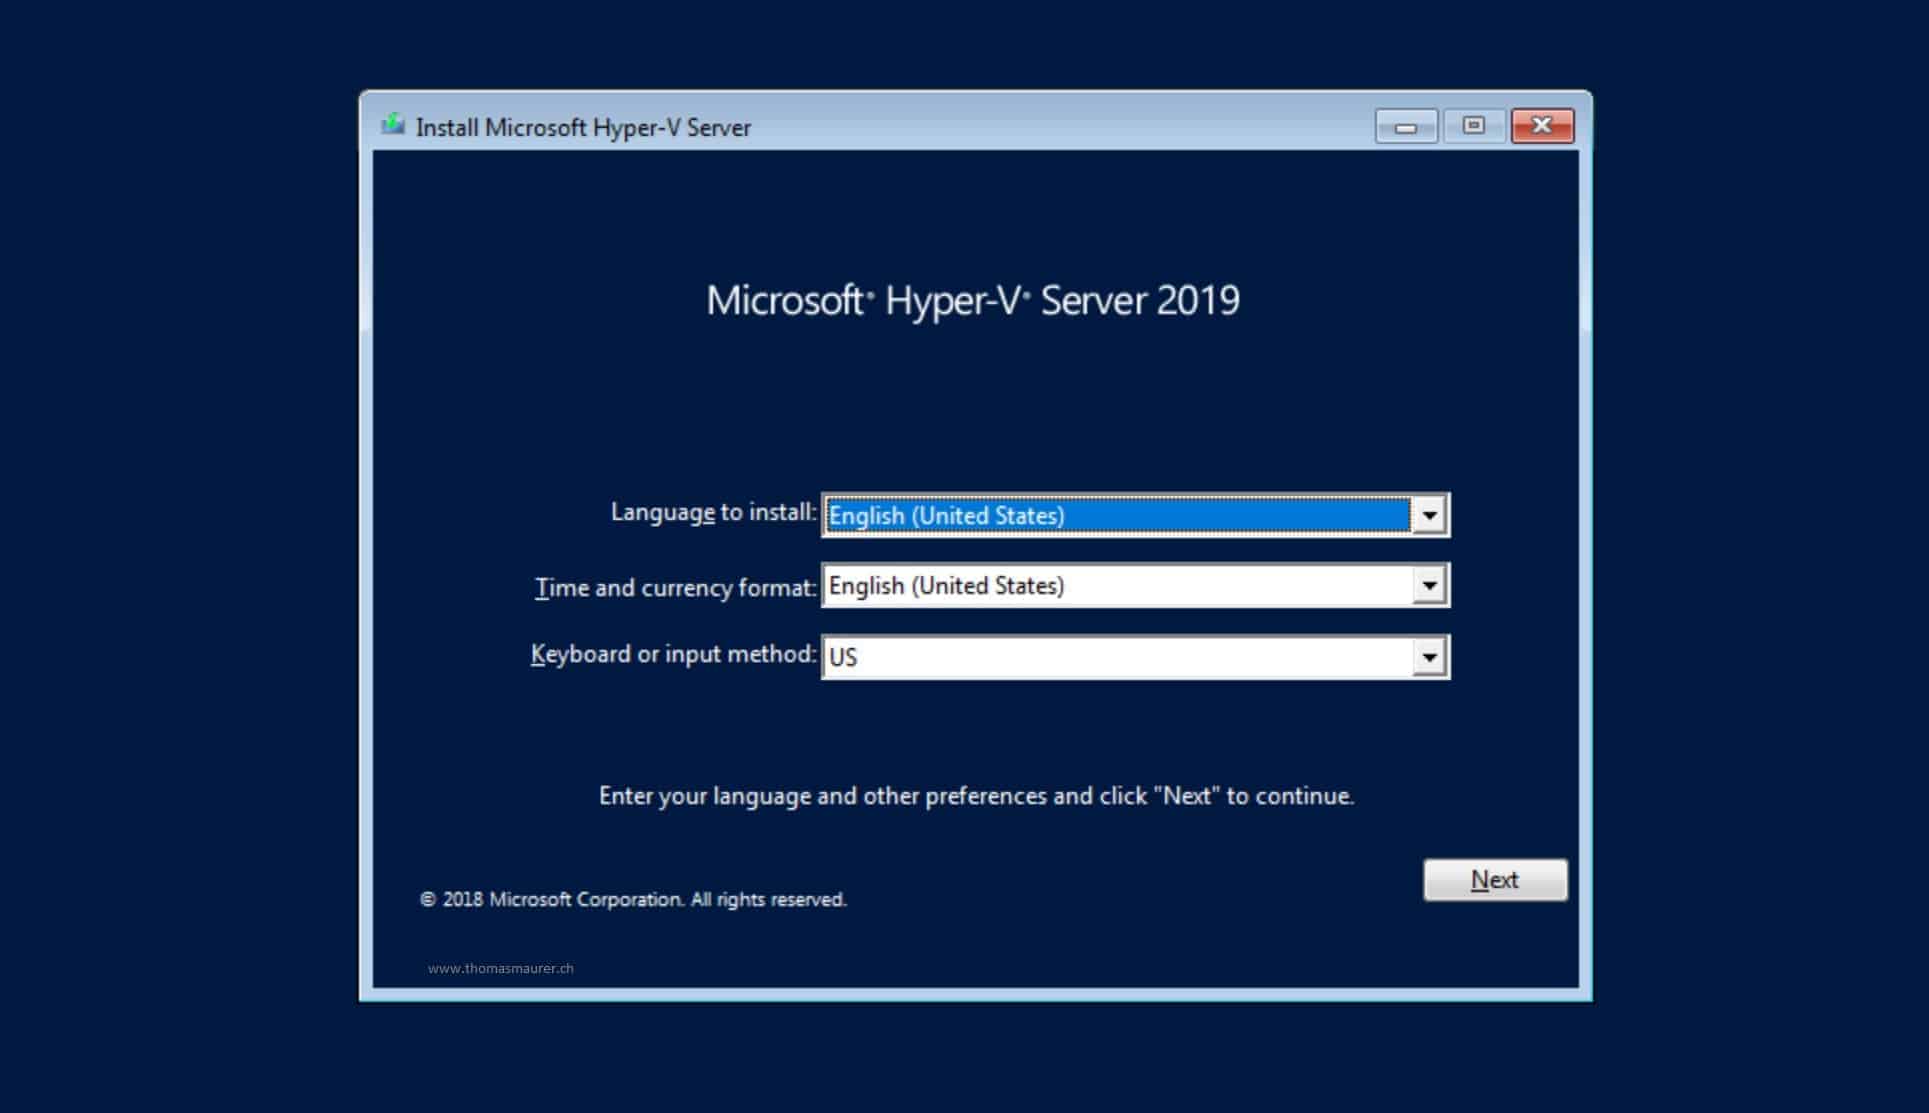
How to Install Hyper-V Server 2019
A couple of weeks ago Microsoft released the installation media, and you can download Hyper-V Server 2019 right now. In this blog post, I...
Download Hyper-V Server 2019 now
A lot of people have been waiting for this. After the release of Windows Server 2019 back in October 2018, you were able to download...
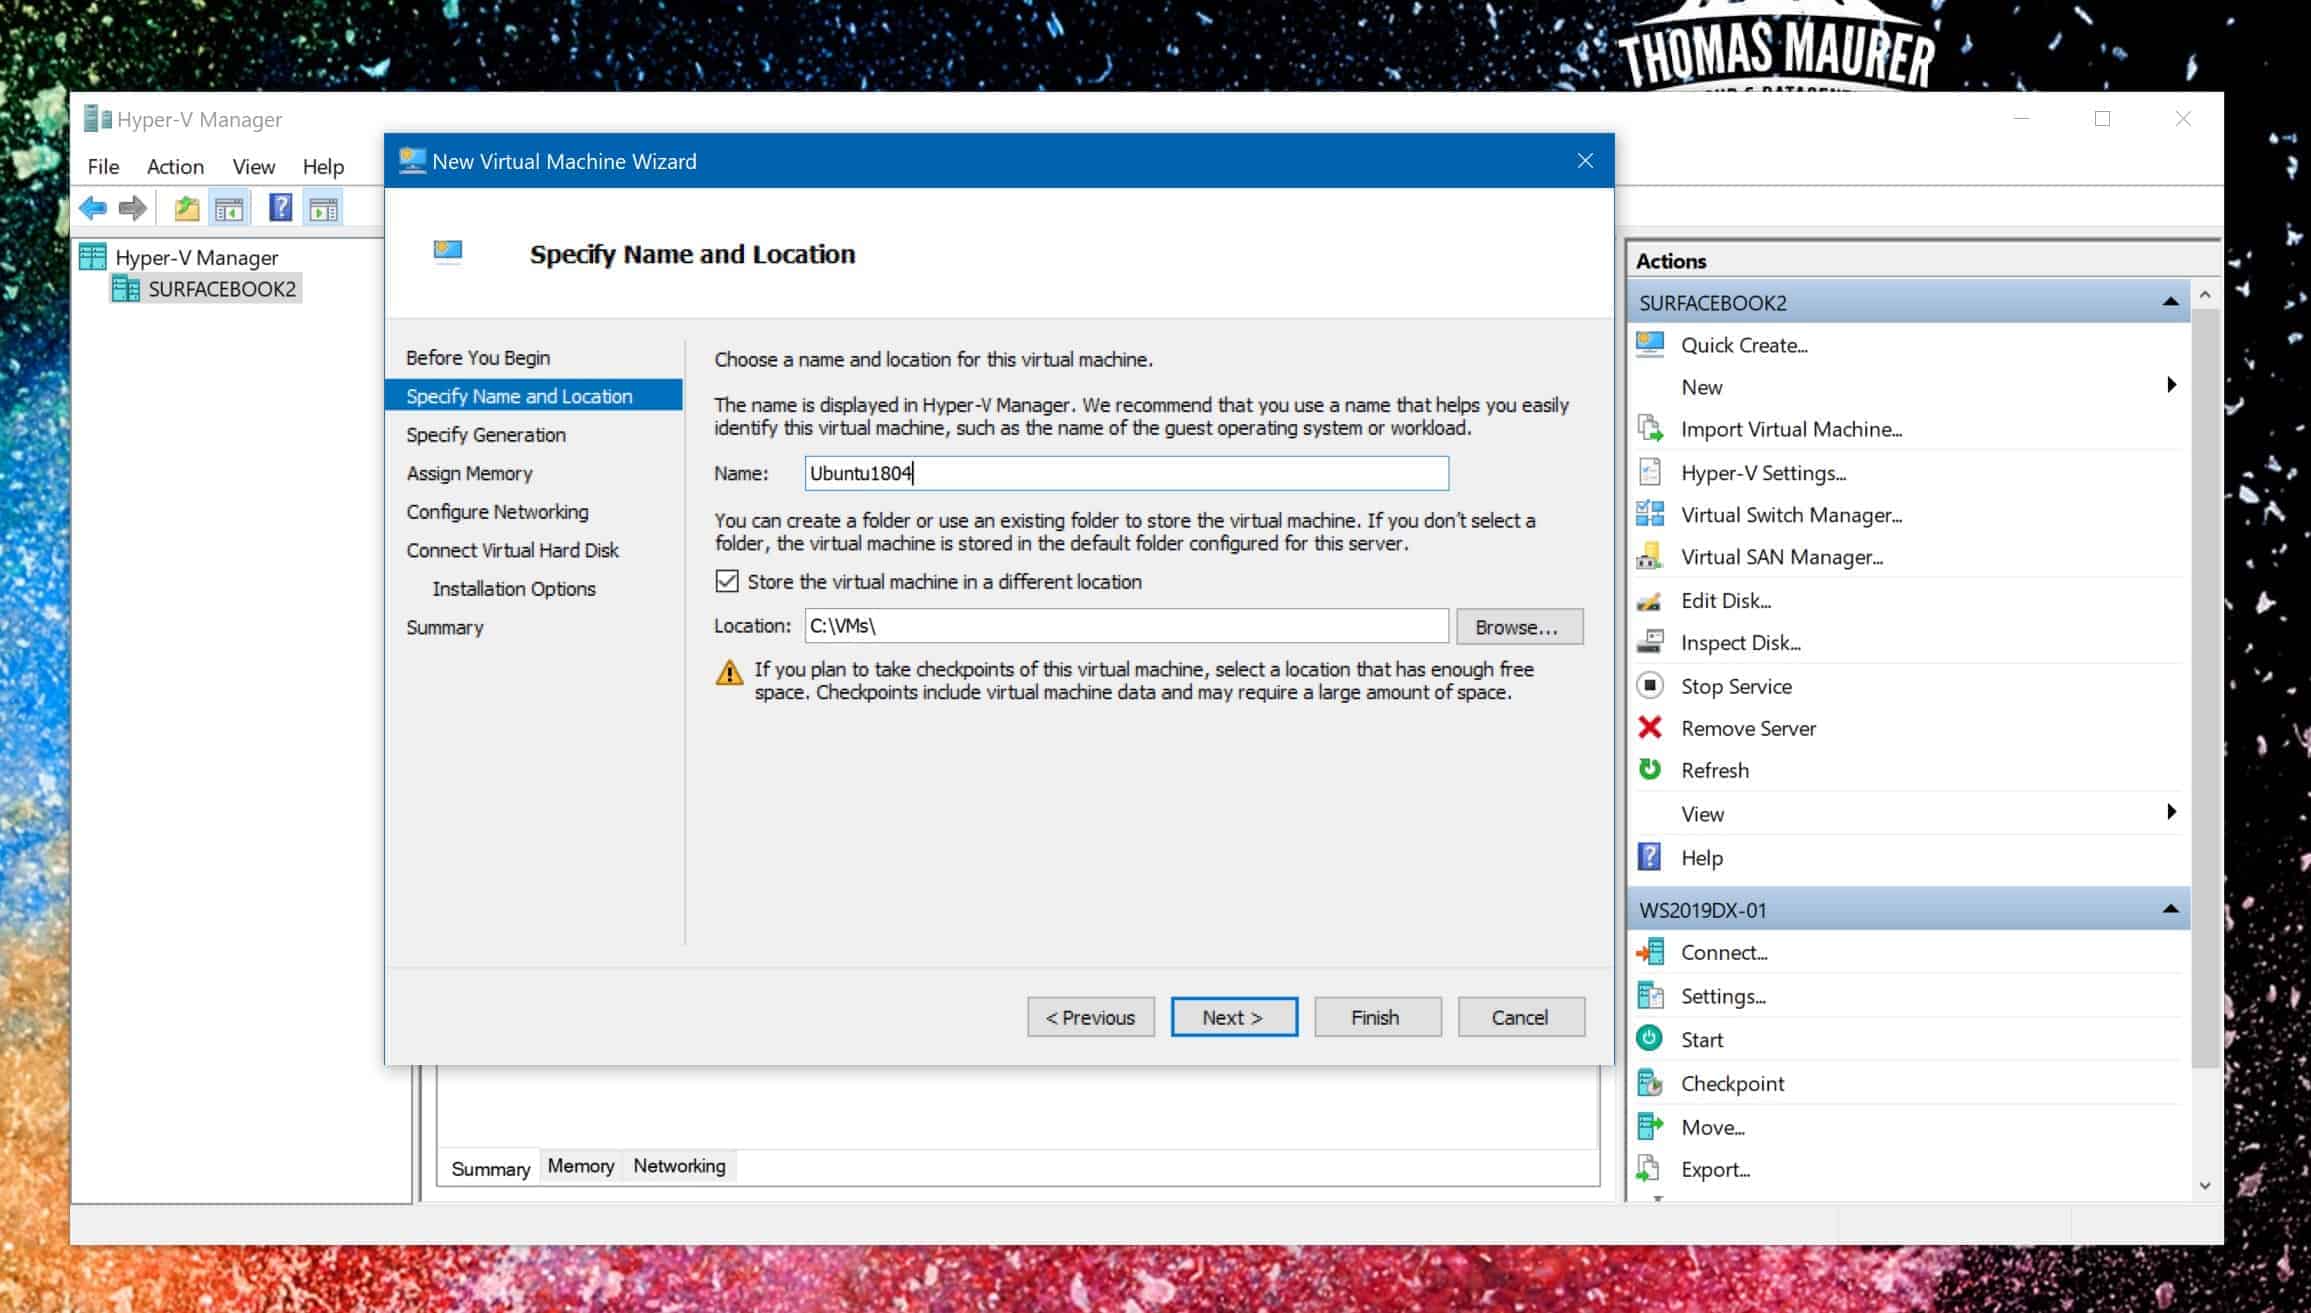
How to Install Ubuntu in a Hyper-V Generation 2 Virtual Machine
If you want to install Ubuntu or any other Linux inside a Hyper-V Generation 2 Virtual Machine you...

What’s new in Windows Server 2016 Hyper-V
Back in October Microsoft released the first public Windows Server Technical Preview for the next release of Windows Server. At TechEd...
Windows Server 2012 R2 and System Center 2012 R2 Preview available
Microsoft made the preview bits for System Center 2012 R2 and Windows Server 2012 R2 available on TechNet and MSDN. So for all of you who...
Windows Server 2012 Hyper-V Component Architecture Poster
Microsoft just updated the Windows Server 2012 Hyper-V Component Architecture Poster which shows...
Install Ubuntu 12.04 on Hyper-V
Some months ago I made a blog entry about “Install CentOS on Windows 8 Hyper-V“. Now with the new Linux kernel 3.0 the Hyper-V...
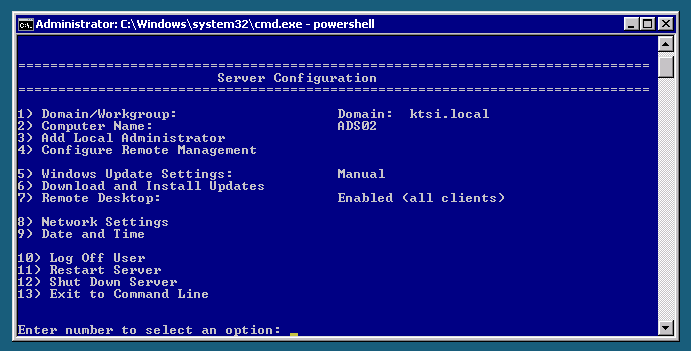
Commands for Windows Server Core & Hyper-V Server
For some KTSI projects I have been working a lot with Windows Server Core or Hyper-V Server. Now I had to do a lot of automation, so I made...
Cisco UCS Hyper-V Cluster – Important Updates for the Hyper-V Cluster – Part 9
Since we have installed our Microsoft Hyper-V Cluster on the Cisco UCS, Microsoft released some...


